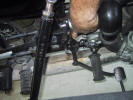
The foot brake switch is located under this rubber
boot... |
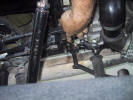
...slide the boot up and you will see two female
spaded wires attached to the brake switch. Check the condition of
these wires and connections as your problem may be here and not the
switch. |
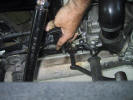
Pull the wires for inspection. If all looks good
proceed with removing the brake switch. |
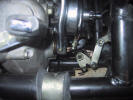
Working from the left side of the motorcycle is
easier.
Looking through the frame you can see the switch.
There is a 13 mm lock nut below the flats of the switch... |
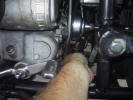
...reach through with a 13 mm wrench and back the nut
off a turn. |
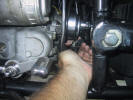
Now use a 17 mm wrench on the flats of the brake
switch to unscrew it. You will only be able to make a 1/4 turn of
so...be patient. |
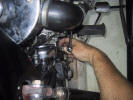
At some point you should be able to unscrew the
switch by hand from the right side... |
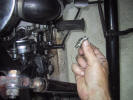
Switch removed. |
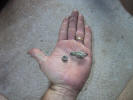
Save the 13 mm nut and put it on the new switch. |
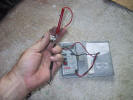
Test the old switch (and the new BEFORE installing)
by using the Ohms on your voltmeter. I use the tone feature on mine.
You should get a tone when the probes touch each contact and the
tone should cease when the plunger by my thumb is depressed. |
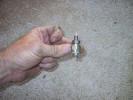
Screw the 13mm nut all the way on to the new switch. |
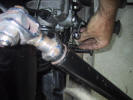
Screw the new switch on from the right side.
Be careful as the mount
for the switch is on an angle and it is easy to cross thread the
switch...take your time! |
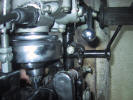
Screw the switch down until it stops. |
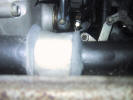
Not a good picture but this shows the new switch in
place with the lock nut in the full up position. |
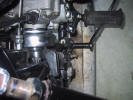
Hook the wires up to the new switch and turn the key
on... |
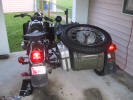
The brake lights will probably be "On" as the switch
has not been seated enough. If "On", skip to next panel.
If the brake lights are not "On"; turn the key
off, remove the wires and back the switch out 1/2 turn and try
again. Repeat until they come on. If they do not...you have another
problem up stream in the wiring. |

Turn the switch 1/2 turn further in and reattach the
wires and turn key on. Repeat until brake lights go out.
I usually orient the male spades of the switch
fore and aft as it is easier to keep track of my turns this way and
it is also easier to attach the wires. |
When the brake lights have gone out (parking lights
are on), depress the brake foot pedal and see how much play is there
before the brake lights come on.
Adjust the switch in 1/8 to 1/4 turns until you
are happy with the pedal travel*
that triggers the brake lights. |
Tighten the 13 mm lock nut, watch that you do not
turn the entire switch. You may need to hold the switch with a 17 mm
wrench. |
Replace rubber boot and you are finished. |
*I
have found that it is best to set the switch to where a very small
application of foot brake activates the brakes. If you set the
switch for a longer stroke of the pedal; when the pedal returns it
pushes the plastic plunger of the switch too far back into the
switch damaging the innards of the switch leading to early failure. |
Also, if you do any
exhaust work, right foot peg adjustment or remove the
engine...anything that can/will move the brake foot pedal; it is a
good idea to remove the brake switch and replace it after the work
is done. This way you will not damage the plastic plunger if the
brake pedal assembly is moved during your work. |
|
|