|
|
|
|
Speedometer Disassembly & Repair (Basic)
Tools Needed: Padded work blanket, 12mm & 6mm wrench, small & medium blade screwdriver, needle nose pliers, light machine oil, gear grease and silicone grease.
 Place a blanket or the like over the front fender to prevent damage to the paint. |
 Use the 12mm wrench to loosen... |
 ...the bolts holding the head light assembly. |
 If carefully done, you can loosen the bolts enough to... |
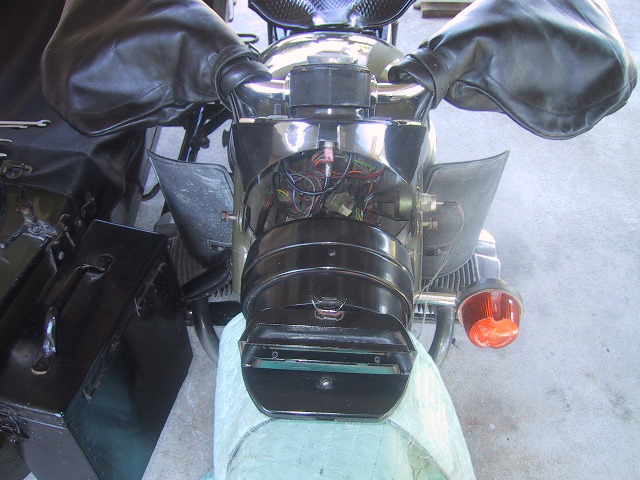 ...remove the head light assembly without removing the bolts. |
 Pull the Molex connector for the head light apart. |
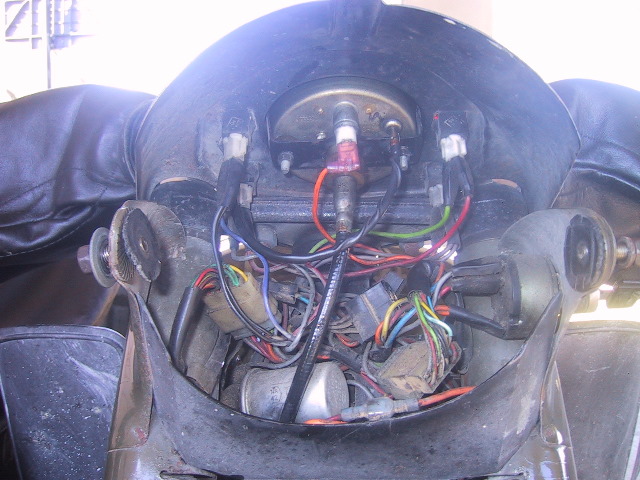 This is a good time to clean and grease all the fuses and connections in the "rats nest". |
 Pull the front speedo illumination bulb out. The connector/bulb is a press fit into the speedo housing. |
 Unscrew the speedo cable and pull it free. |
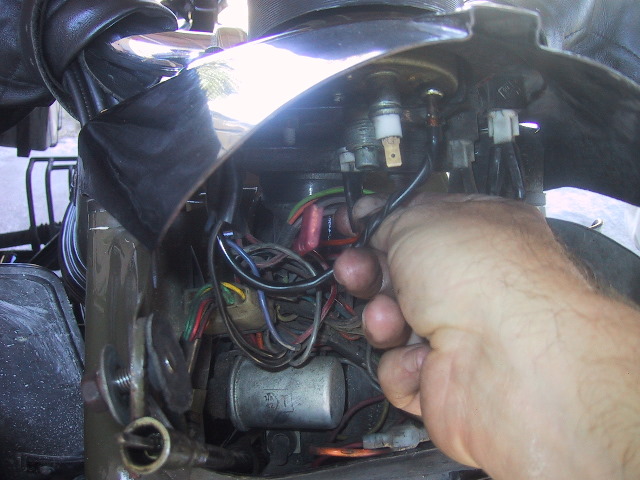 Pull the rear illumination bulb free. |
 Now you have a good view of the cross bar which holds the speedo in place. |
 Use the 6mm wrench to remove the nuts/washers securing the bar to the speedo. Careful not to drop the nuts, they are tiny! |
 Pull the bar free. |
 If you have a trip meter, you'll need to remove the lock ring at the knob... |
 ...be watching for the spacer ring that is under sheet metal at the base of the trip meter knob...it can disappear into the "rats nest". |
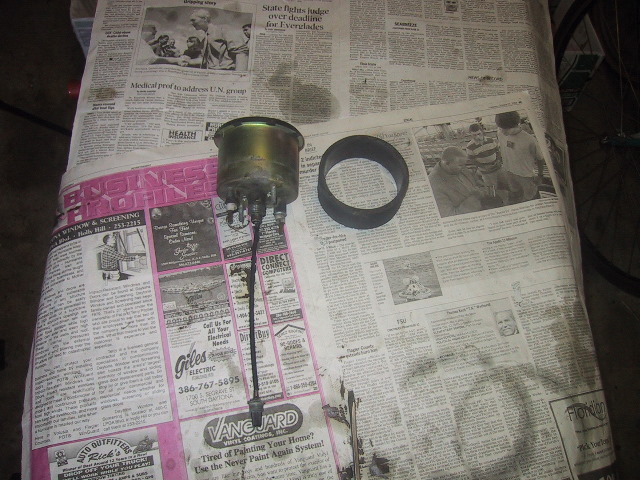
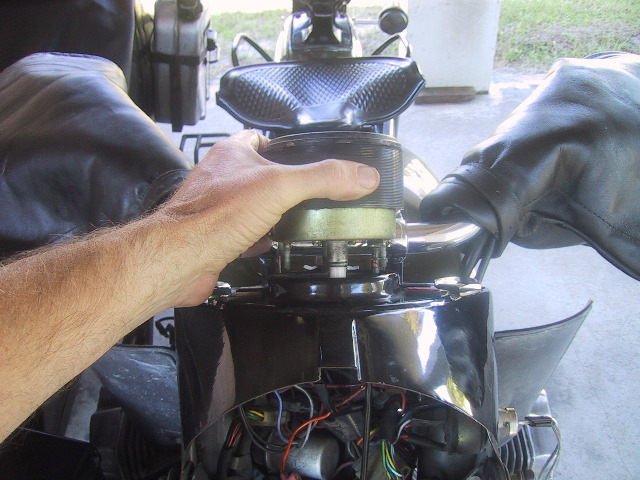 You can now lift the speedo free of the dash. |
 Front view... |
 ...bottom view showing trip odometer cable on right. |
 First step in disassembling is to remove the protective rubber...use your finger tips on each side... |
 ...and pull down. A squirt or two of silicone spray may be helpful. |
 Protective rubber removed. |
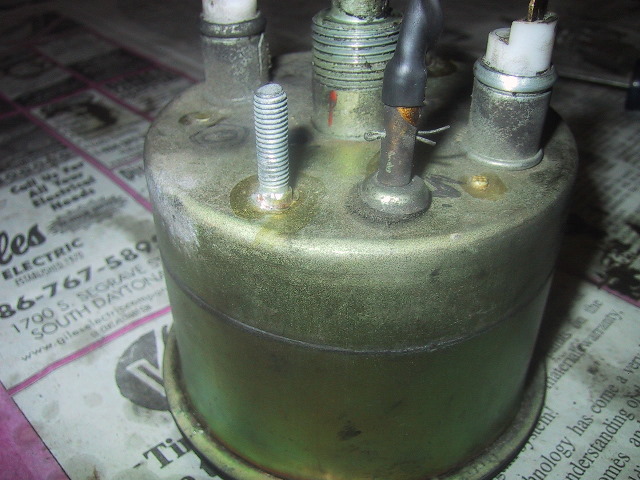
 Here you can see a few of the tabs that hold the metal face plate ring on. We'll get to these later. |
 Use a flat blade screwdriver to remove the two screws that hold the speedo in the body can. |
 Screws out. They are small so don't loose them. |
 To remove the trip meter cable, use your fingers or needle nose pliers to remove the super small cotter pin holding the cable to the gear shaft. |
 Pull the cable free and give it a few drops of machine oil to lube the cable and set it aside. |
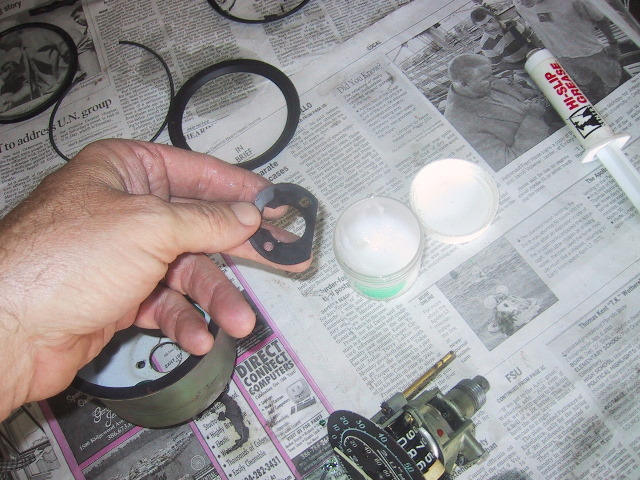
 Remove the cap and felt dust washer... |
 ...along with the bulb holders and bulbs. The bulbs are 12v 4w BA9s's. BMW dealers stock these. |
 Next, use a small thin blade screwdriver or similar... |
 ... to carefully... |
 ...bend the face plate ring tabs up. |
 Take your time as they are easily broken. |
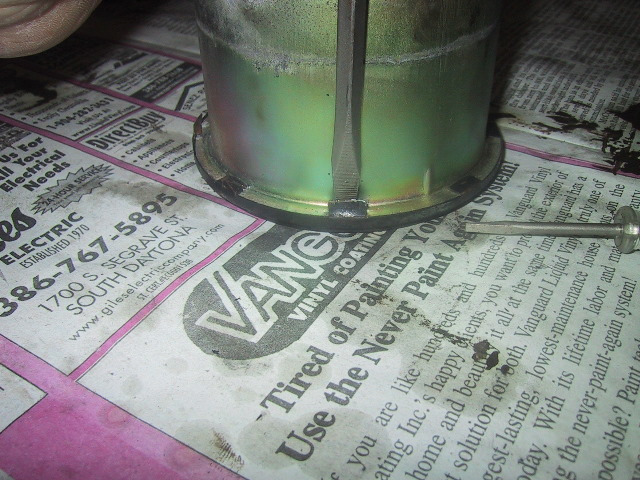
 Pull the ring free taking care to not let the glass fall free! There is a thin O-ring that will either be stuck inside the ring or on... |
 ...the face of the glass. The glass sits a top a thin rubber seal. The glass will probably be stuck to this...but be careful to not let the glass fall. |
 Side view of speedo with metal ring removed. |
 Use a thin screwdriver or razor to carefully remove the glass and/or rubber seal from the speedo. I left the glass adhered to the seal. |
 There is one more metal ring holding the speedo guts in the can. Pop this off with your fingers or a thin edged implement of choice. |
 Profile view of ring. |
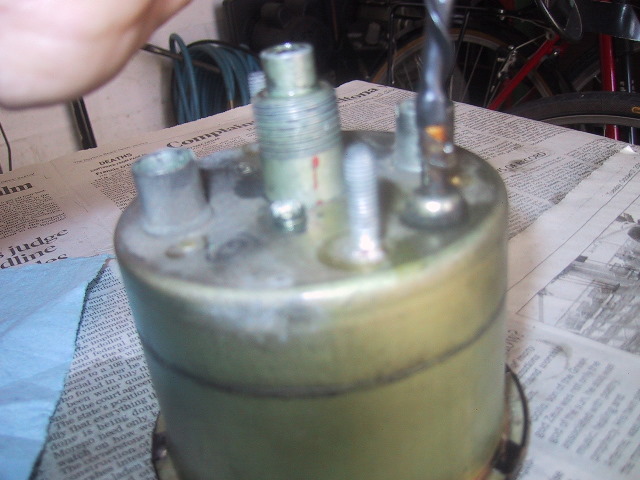
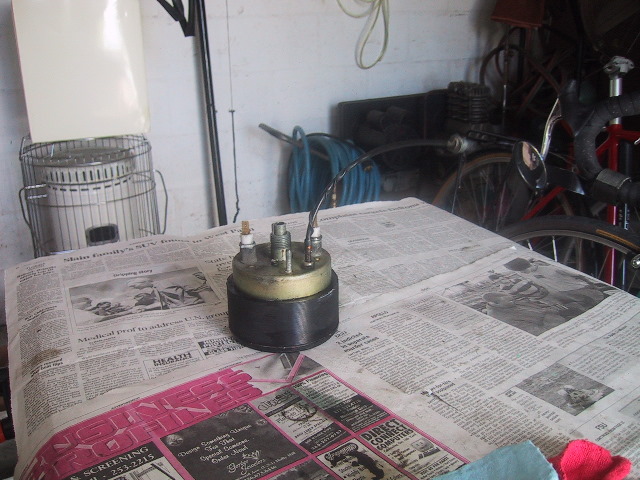
 Now the speedo mechanism can be removed... |
 ...from the can. Remove the mechanism carefully as the screws holding the two halves together may have fallen out, allowing the mechanism to come apart. |
 This is a view into the bottom of the can, you can see a rubber seal and the two green filters for the illumination bulbs. They are cracked due to heat (too hot a bulb?)... |
 ...lot's of little pieces of the filters in the bottom of the can. |
 I just finished the job and nipped the filter domes out with a pair of pliers. This modification allows for much more light to get up to the speedo face at night. |
 A few views showing the bits and gears of the speedo mechanism. |
 Left side. |
 A few drops of machine oil need to be put between the speedo cable drive socket and the threaded collar. Not down the hole in the middle! |
 Another view...right side. |
 ...and yet another, this time the top showing the trip meter Geneva mechanism. |
 Use a high quality gear lube to lube all the gears in the mechanism. I use silicone grease on all the rubber seals. |
 Greased gears and the odometer Geneva mechanism.
|
 Just above my thumb is one of the two tiny screws that holds the two halves of the mechanism together. If these loosen of fall out the speedo needle bounces wildly... |
 ...To put them back in/tighten them, remove the two screws holding the face plate, rotate it so the openings for the odometer/trip meter allow access to the screws. |
 Silicone grease on both side of the can seal... |
 ...will help hold it in place during reassembly. |
 Drop the speedo mechanism into the can... |
 ...and make sure the rubber seal holes line up. |
 Use some light weight LocTite on the screws... |
 ...and tighten them down. |
Put the metal keeper ring back on... |
 ...clean the glass and put some silicone grease on the rubber seal for the glass and set them on next. |
 The thin rubber O-ring goes inside the metal ring with the tabs. Use four dollops of silicone grease to hold the O-ring in place. |
 Set the speedo can in the rubber protective ring as a stand. Put the metal ring on and bend the tabs in a bit to hold it in place. |
 Put a drop or two of machine oil on the felt dirt washer for the odometer cable... |
 ...turn the speedo over, slip the felt washer, cap and cable in place and secure with the cotter pin. |
 Put the bulbs back in...a light coating of silicone grease makes pulling them out again a bit easier. |
 Spray the inside of the protective rubber with some silicone spray and slip it back on. |
 The speedo is now ready to reinstall in the reverse order in which is was removed. |
|
|