|
|
Servicing Shock Absorbers (Shock off frame)
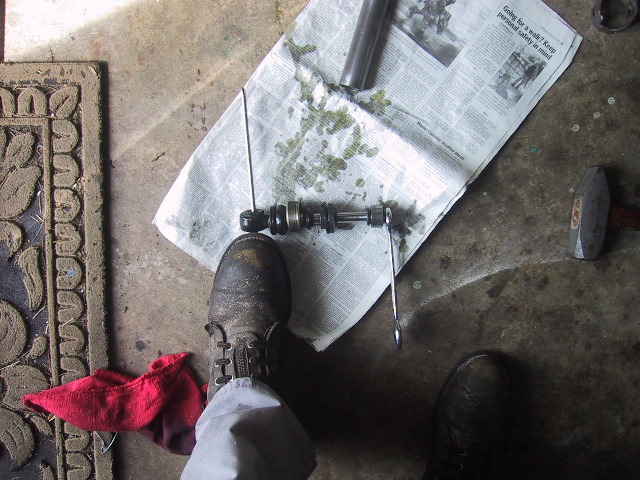
Tools Needed: Shock compression tool, URAL shock pin wrench, hammer, bar stock, 17mm wrench, oil catch, rags and measure.
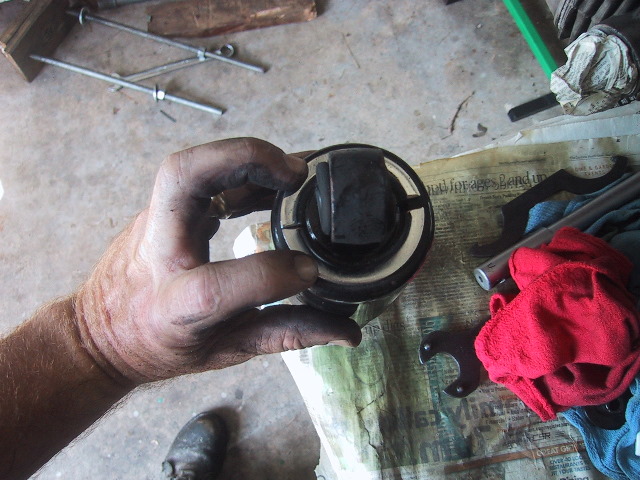 Top view of shock showing the two chrome keepers which hold the shock inside the bell cover and spring.
|
 Side view showing bell cover, spring and shock tensioner. |
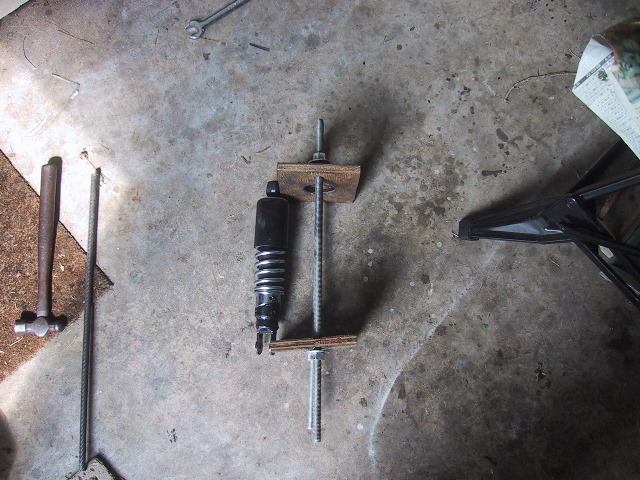
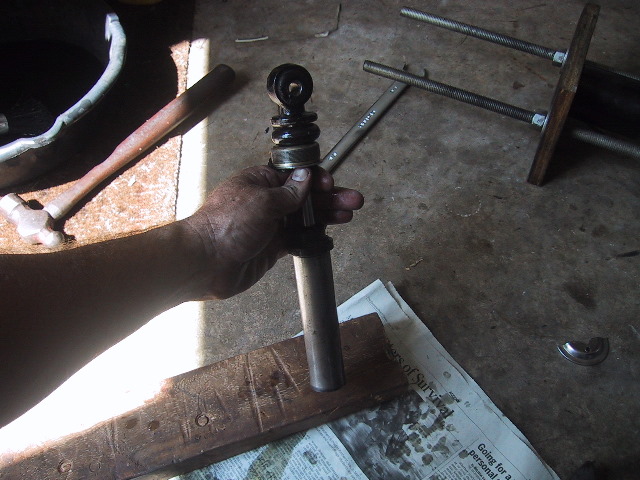
 My home-made shock compressor. Made with two 18" pieces of ReadiRod, nuts and heavy fender washers, two 8" square pieces of 3/4" plywood with a top hole of 2 & 1/2" and bottom hole of 2 & 1/4". |
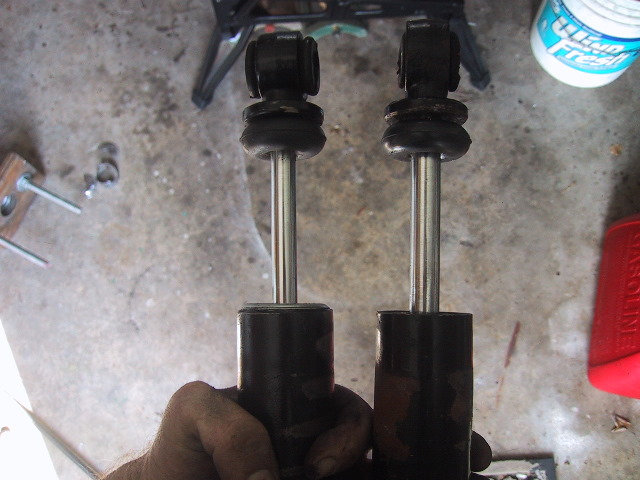
 Just a "for comparison" shot. |
 Loosen the nuts enough to drop the shock into place... |
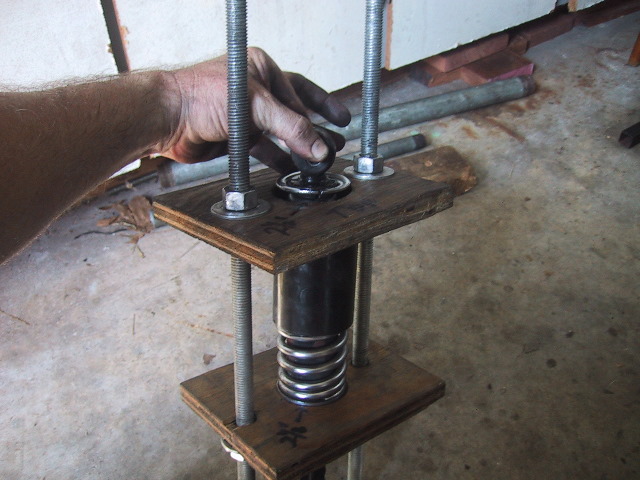 ...use a wrench to alternately tighten the top 2 nuts until you can pull the piston rod up enough to free the 2 keepers. |
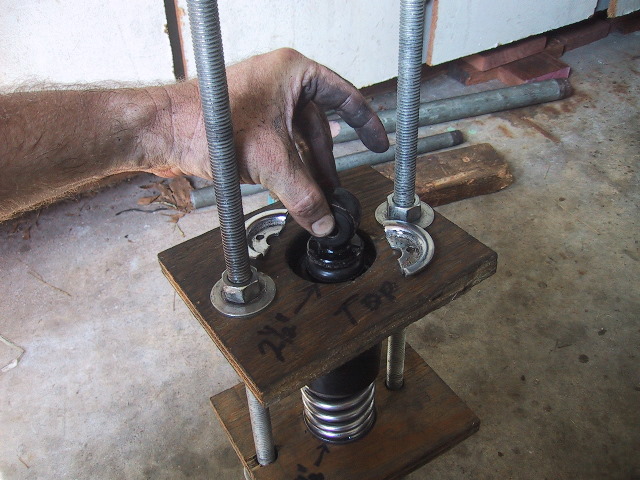 Remove keepers and clean them. Hold on to the piston rod or put a screwdriver through the mounting hole as the shock is now free to fall out. |
 Slip the shock... |
 ...free and remove the tensioner ring and clean it off. |
 Clean off the shock and you are read to disassemble. |
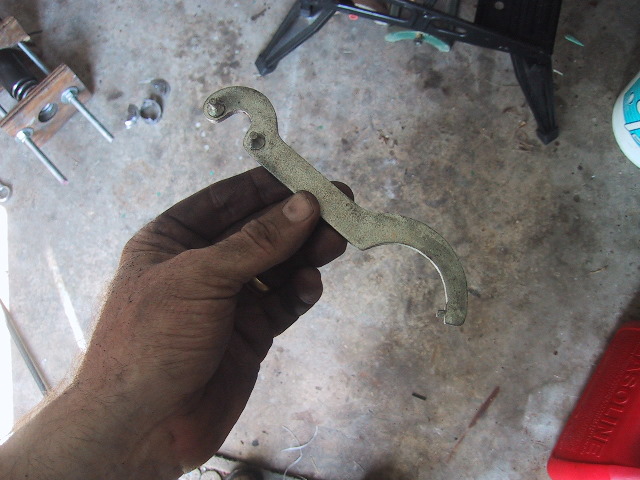 You will need this URAL shock tool or fab up one yourself to get the top off the shock. People have used a punch and hammer but this deforms the cap. |
 There are two styles of shock. One cap has 4 holes where the other has 4 slots... |
 ...the 4 hole type has a 12mm piston rod shaft while the 4 slot shaft is 14mm. The internals are different and this will be cover a little later. |
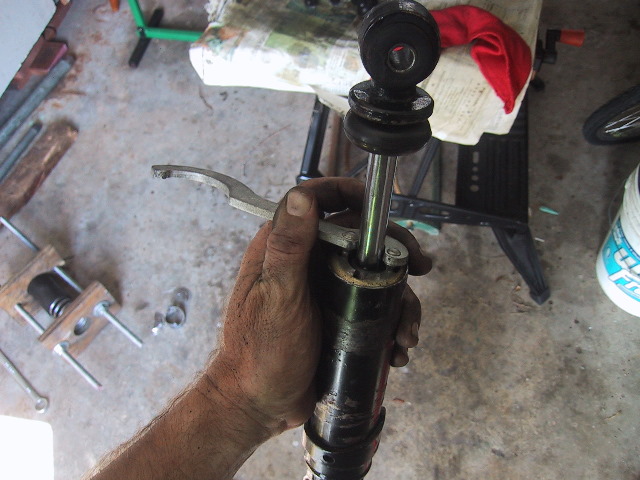
 I just slip a piece of bar stock through the lower shock stirrup and use the Ural shock tool to unscrew the cap. You may need to slip a pipe extension over the wrench to break the cap free. |
 Once the cap is started off you can finish unscrewing by hand... |
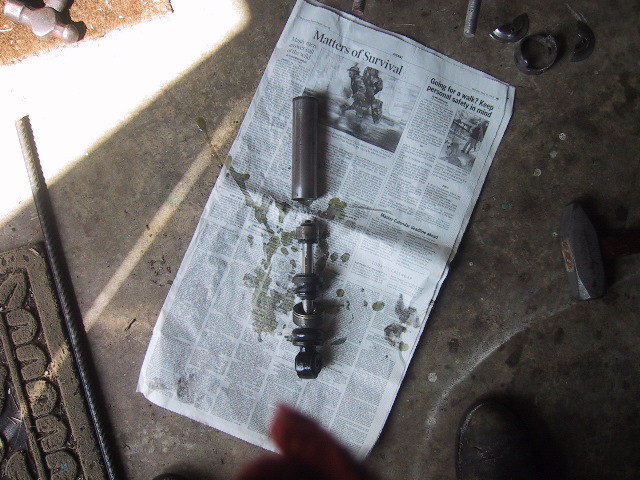
 ...with the cap free you can pull the piston... |
 ...out of the lower shock body which serves as the oil reservoir. Be careful as the 12mm style piston body will sometimes fall free on the rod. |
 This is the 14mm style. Push the flapper valve on the bottom in and work the piston rod to empty the oil inside. With the 12mm style you can just pull the piston body free to empty it. |
 Unless you need to repair the innards, it is not necessary to further disassemble the piston. Just clean all the parts refill with oil and assemble. If you need to go farther, hold the piston assembly upside down, use a hammer to tap around the edge of the top cap (where my pinky finger is) to free the piston body from the rod. |
 Piston body is now free of the rod assembly. |
 Use a 17mm wrench to remove the nut on the end of the piston rod. |
 Again, I use a screwdriver or bar stock to hold the assembly while loosening the nut. |
 Here are the bits and pieces of the 14mm style laid out. Parts go on the piston rod from left to right. |
 Here are the parts of the 12mm variety. |
 When assembling, smack the piston body on a piece of wood to press the top vent cap back into the piston body. Take care not to pinch the O-ring gasket while doing this. |
 Use a measure to pour 110 ml of what ever oil you choose to use (I use 20w/50)... |
 ...into the shock outer body which is the oil reservoir. When inserting the piston back into the shock, have the piston rod fully depressed. |
Screw the cap down
until the threads are flush. Now work the piston up & down a couple
times to draw the oil up into the piston. This is messy so do it
over the oil catch and have rags ready. Finish by tightening the cap
with the URAL shock tool. Pump the rod some more...should go down
easy and be hard to pull out. Put the tensioner ring back on the shock, insert it back into the compression tool, slip the keepers above the rubber dough nut and release the nuts compressing the shock. Reinstall the shock on the bike. |
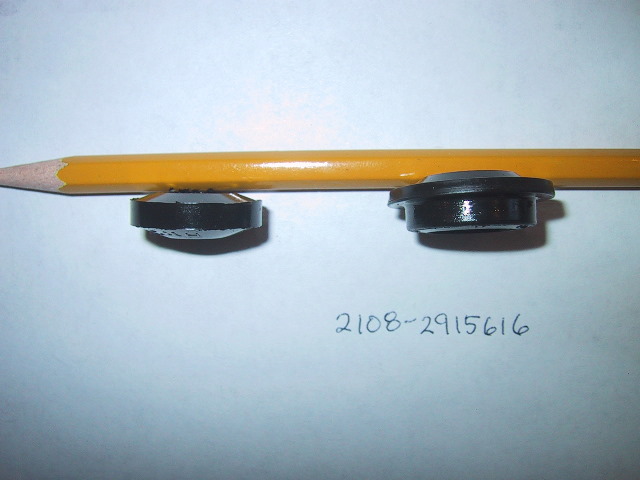
These are the two types of wiper seals that go bad causing shock leaks. The left is the 12mm type and the right is the 14mm type. The 12mm type is available sparsely here in the U.S. from some select URAL dealers. |
The 14mm type is a LADA car part and not available here in the U.S. I have not found a source for them here. The LADA part number is noted in the photo. The 12mm type can be used on the 14mm style. Use silicone spray and carefully install it onto the piston rod. It is a tight fit but does work. |
|
