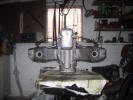
Begin by removing the two fastening screws on each side of the ignition
cover. |
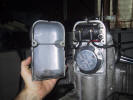
Removing the cover exposes the coil (black) and the electronic ignition
(silver puck). |
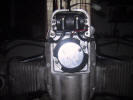
A straight on view of the coil and ignition.
|
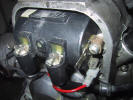
A close up of the coil. |
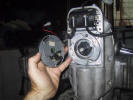
Remove the 2 set screws on the ignition module, then disconnect the
black and red wires at the coil. |
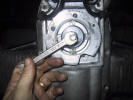
Using the 10mm wrench, remove the bolt holding the ignition interrupter. |
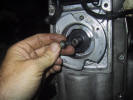
There should be a split washer under the bolt, maybe a washer also. |
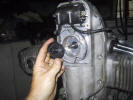
Remove the interrupter from the cam shaft. You may need to use a pair of
pliers to gently work it free. |
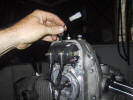
This is the 12v power lead coming in to the coil. It is usually
connected to the the left side upper post. |
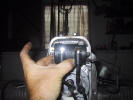
Disconnect the plug wires at the spark plug and using a slotted screw
driver, remove the mounting screws on each side of the coil. |
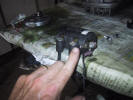
This is the air gap for the coil. If the spark can not exit at the plug
(resistance) it will dissipate into the atmosphere across this gap.
Otherwise it might return to the ignition and damage it. |
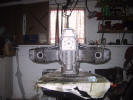
Now you are ready to remove the distributor cover. |
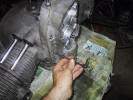
Using the appropriate tool for the 10 fasteners used on your cover.
Usually, this will be either a flat or Philip blade screw driver. |
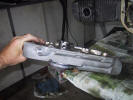
Once the screws are removed. Tap the cover with a hammer or use a wood
chisel and light blows at the seam to split the cover from the engine
case. There is a sealed gasket holding the two together. |
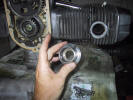
Watch for the breather, it will either come off with the distributor
cover (see previous picture) or be hanging on the cam/gear. |
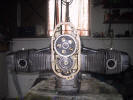
Clean off the old gasket material with a razor and clean any debris from
the bottom of the timing gear tower. |
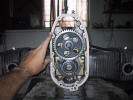
Hand fit the gasket in place. Most replacement gaskets will be 650cc
gaskets which require a little modification for use. |
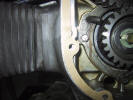
There will not be any holes cut for the line up studs (two). Just press
the gasket on to the stud to make an outline of the area that must be
removed. |
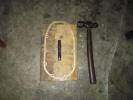
I use a wad punch and hammer to cleanly cut the areas needed. |
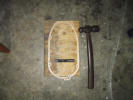
Small scissors or a razor used carefully will accomplish the same. |
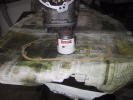
Apply gasket sealer as directed to the side that will adhere to the face
of the engine case. I use "Gasgachinch" brand sealer. |
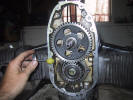
Apply your sealer to the face of the case... |
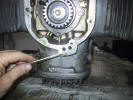
...using care not to get the sealer into any of the oil galley ways. |
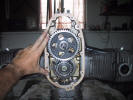
Press the new gasket on. I don't apply sealer to the outside of the
gasket or distributor cover so that it is easier to remove if I must go
back in. Some folks use a little silicone grease on the front. |
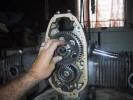
Replace the breather on the cam, the cut-out on the breather fits the
alignment pin on the cam gear. It will dangle on the cam. |
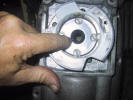
When mounting the distributor cover, you don't want to damage this cam
shaft seal... |
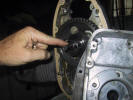
...on this sharp shoulder of the cam. |
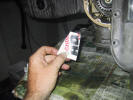
Cut out a piece of a used oil bottle in a rough rectangular shape. |
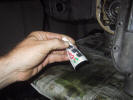
I roll it to form a cone "guide"... |
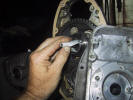
...and slip it over the the cam. |
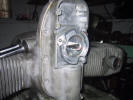
I then slip the distributor cover on over the "guide" which now protects
the seal from the sharp shoulder on the cam. |
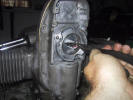
Remove the "guide". |
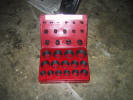
I change out the OEM fasteners to socket head stainless screws. On each
screw I place an O-ring to help prevent oil seepage. Metric seal kits
are available from many sources for under $15. |
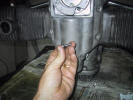
If you choose to go the socket head route; you'll need 10 M5 X 20mm or
25mm X 1.00 screws plus... |
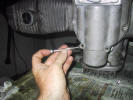
...2 M5 X 70mm X 1.00 screws for the bottom. These will use a 5mm Allen
wrench, remember to add one to your on-board tool kit! |