|
|
|
|
Removing and Installing Wheels
Removal: Front Wheel, Leading Link
Tools Needed: Jack or support for oil sump, 17mm, 14mm, 12mm wrench, tommy bar.
 Place the bike on its center stand and put a support under the sump to keep the front wheel an inch or so off the ground. |
 Have you tools ready. |
 First remove the torsion bar nut, lock washer and washer. |
 Use the 17mm wrench... |
 ...and remove and clean the parts. |
 Next you will need to remove the front brake cable. |
 Start by holding the cable and screwing the adjusting screw all the way home. |
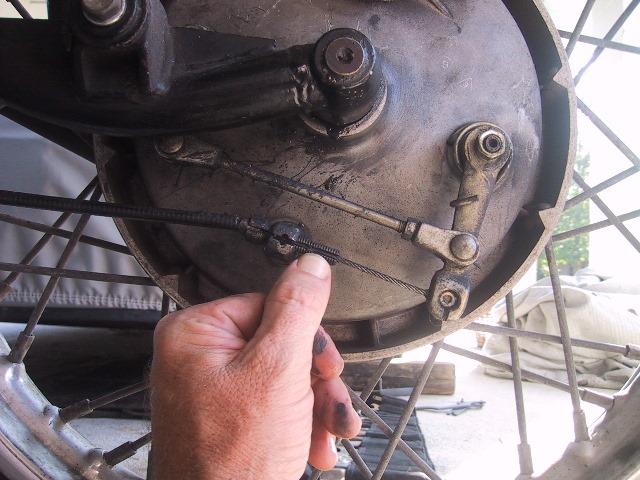 Line the cut out in the adjusting screw with the slot in the boss so the cable will come free. |
 Press rearward on the bottom brake lever... |
 ...while pulling the brake cable aft... |
 ...clear of the recess in the adjusting screw. |
 Now you can slip the brake cable ferrule... |
 ...free of the bottom brake arm. |
 Moving to the other side of the wheel, use the 17mm and 14mm wrench to loosen the axle pinch bolt. Do not remove it unless replacing due to damage. |
 Slip the tommy bar through the hole in the axle and turn it CW to loosen. It is a left hand thread. Once free, grasp each side of the tommy bar and place your feet against the tire... |
 ...and pull the axle free of the wheel hub. The dust cover should fall free. |
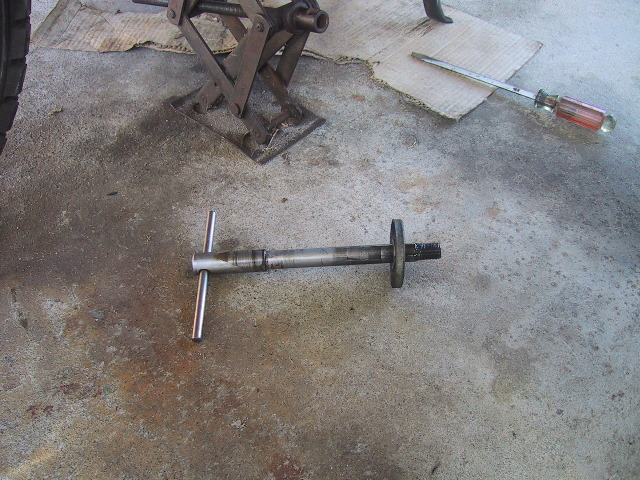 Place the dust over on the threads of the axle, leaving the tommy bar in place and set it axle out of the way. This will keep dirt off the axle. |
 While pulling the wheel assembly forward and up, stick a foot or other support under the wheel to hold it up... |
 ...pull the front brake plate away from the wheel while rolling the wheel assembly toward yourself. |
 Wheel is now off... |
 ...and brake plate may be removed from the torsion bar stud for servicing. |
Installation: Front Wheel, Leading Link
Tools Needed: Same as for removal.
 Lean wheel against fork in preparation for installation. |
 Place the wheel between the forks and pull the front brake plate out and away from the hub while rolling the wheel up onto your foot or other support. |
 Keep the hub and brake plate square to each other and while rolling the wheel back ease the brake plate into the hub. Center the hub axle hole to the fork axle holes. |
 Have the cleaned and greased axle ready on your right side within reach. |
 Remove the dust cover and slide the axle into the left fork hole so the threads are not sticking through to the inside... |
 ...place the dust cover on the hub and with your right hand slide the axle through the hub while lining up the path with your foot and left hand. |
 Use the tommy bar to turn the axle CCW (remember it is left hand thread) to tighten it. |
 A few threads should show when fully tightened. Just go snug and a 1/4 turn if you can get it. |
 Using the 17mm wrench, install and tighten the washer, lock washer and nut for the torsion bar. |
 Clean and grease the brake cable ferrule, cable, barrel end and bottom brake arm slot before installing brake cable. |
 Install the cable end barrel into the bottom brake arm slot, push the bottom brake arm aft and guide the cable into the adjusting screw slot and fit the cable ferrule into the head of the adjusting screw. |
Tighten the axle pinch bolt, adjust the front brake and you are finished. Remove sump support and take bike down off the center stand.
|
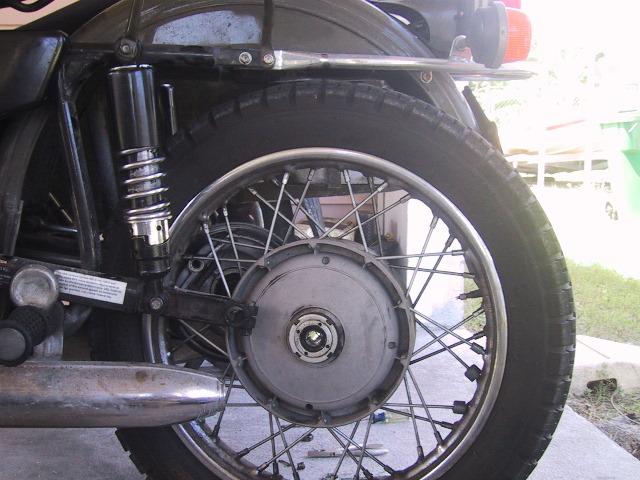
Rear Wheel Removal & Installation 2wd models
Tools Needed: 2X4, 17mm, 14mm, 12mm wrenches, Tommy bar, URAL slogging wrench and pliers.
 Place the bike on the center stand. An easier way on the back or if you have a flat tire is to use a length of 2X4. Set it behind the wheel... |
 ...roll the bike up on it... |
 ...then put the center stand down and finish pulling it up by holding it with your foot and pulling up on the foot peg and pillion grab handle. |
 Use the 14mm and 17mm wrenches to loosen the axle pinch bolt. Do not remove the bolt/nuts. |
 Back-off or remove the foot brake adjustment barrel. |
 I remove it as I am eventually going to remove the final drive later. |
 Take the tommy bar and turn the axle... |
 ...so you can get to the cotter pin in the sidecar drive stirrup. |
 Use a pair of pliers to straighten the cotter pin arms. |
 Use the tommy bar to turn the axle so you can get at the head of the cotter pin... |
 ...and pull it out. |
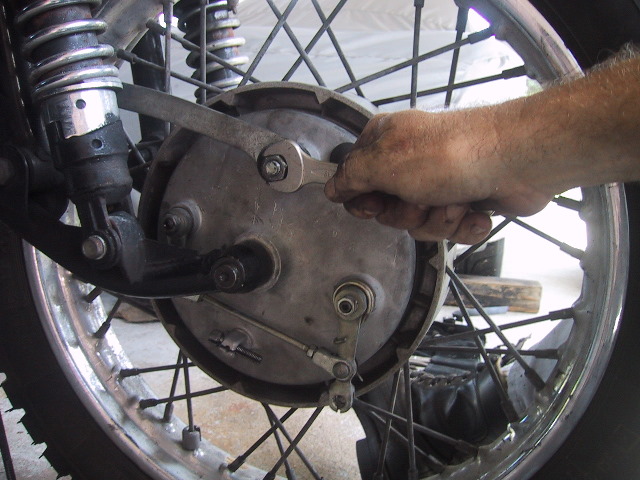
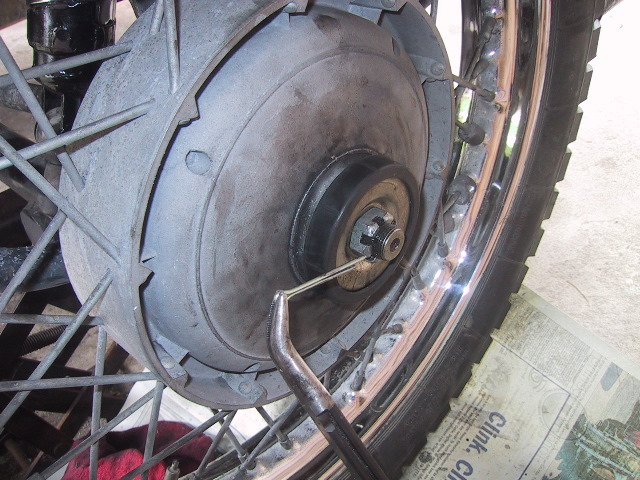
 Next, take the URAL slogging wrench from you tool kit... |
 ...and place it on the castellated nut and hold it... |
 ...while using the tommy bar to unscrew the axle. The axle is right hand thread so lefty loosey, righty tighty. |
 Nut removed. |
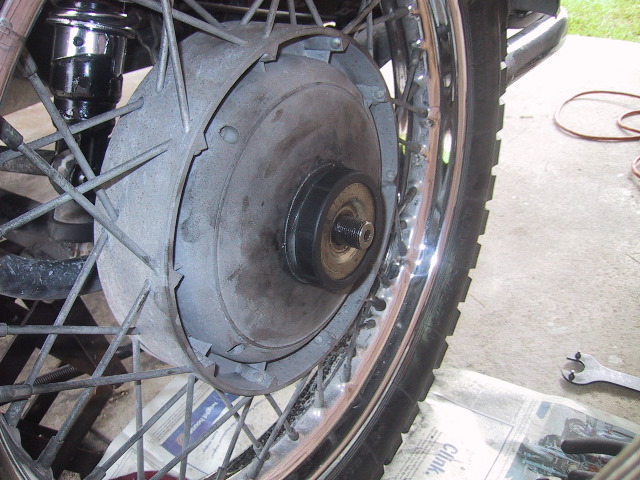
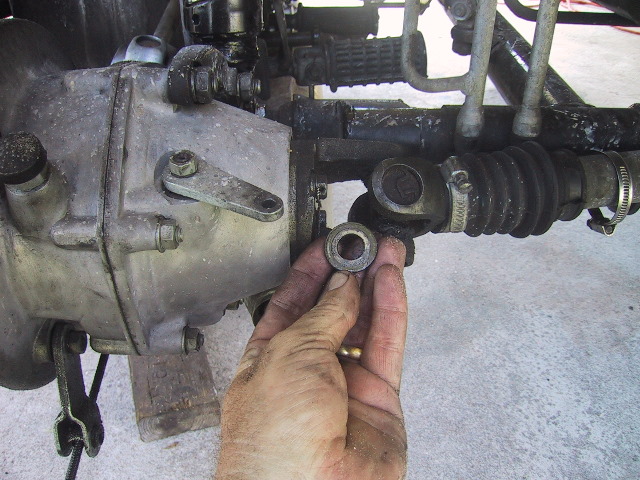 Behind the nut is a spacer washer, don't overlook it as it usually remains stuck to the final drive and can disappear later. |
 Leave the tommy bar in the axle, place both your feet astride the wheel, grab the tommy bar with both hands and... |
 ...pull it out. Sometimes it takes a little persuasion with a hammer, especially when the rig is not yet worn in. |
 Place the dust cap on the axle and set it aside. |
 The tire can now be removed from the final drive and rolled out from under the fender at a slight angle. Clean and grease the axle and installation is in the reverse order. |
Sidecar Wheel Removal & Installing 2wd Models
Tools Needed: Jack or support, Large flat blade screwdriver, URAL pin wrench, pliers and silicone spray.
 Place a jack or support under the sidecar frame and raise the sidecar wheel off the ground. Block the front tire so the bike doesn't roll off the stand. In a pinch, you can tilt the bike on its left side to remove the wheel. |
 Use the screwdriver to pop of the hub cap if one is installed. If it is plastic use care as these crack easily. The hub cap is just for looks, it is not really needed. |
 Take the pliers and bend the cotter pin arms straight. Have a spare handy as the cotter pins snap frequently. |
 Push the cotter pin through... |
 ...until you can grasp the head and pull it out. |
 Use the URAL pin wrench (same used for wheel bearing compression nut) with the pins facing out and unscrew the large castellated nut. |
 Now slip the dust cover off. |
 The wheel is now ready to be removed. There is a ring spacer that sometimes come off or is stuck to the back of the wheel with grease. Most of the time it remains on the axle inside the splines. Keep an eye out for it. |
 With the wheel off you can get to the brake shoes and visually inspect the short axle and splines. If any parts slide out on the axle (other than the ring spacer) or there is substantial play in the axle...you are looking at a rebuild of the frame hub. |
 Reassembly is the reverse steps. Make sure the wheel and axle splines are fully engaged. Holding the sidecar axle while turning and pressing the wheel will help seat things. Use some silicone spray on the hub cap rubber seal to make seating the hub cap easier. |
|
|