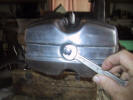
Before beginning place a suitable container under the head to catch any
oil that will spill out. Using the kick starter set the engine to
TDC using the arrow in the view port. Using the 12mm or 13mm wrench,
loosen and remove the valve cover retaining nut and washer. |
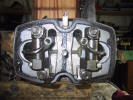
If needed, the valve cover gasket can be removed. It is designed to be
re-useable and should be marked so it can be re-installed in its
original position to lessen oil seepage.
|
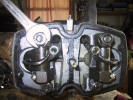
Using the 17mm wrench, loosen the cylinder head stud nuts using a
"cross" pattern.
I also back off the valve adjustment lock nut and adjustment screw in
preparation for re-assembly. |
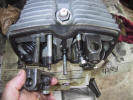
Once the stud nuts are loose, remove on set of nuts at a time along with
the rocker arm assembly. Careful not to let the pushrod drop out on the
floor. |
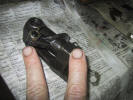
The middle finger is pointing to the valve adjusting screw and lock nut
while the index finger is pointing to the set screw for the rocker arm
shaft. |
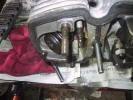
With the rocker arm assembly removed you can now see the push rod to the
right of the cylinder stud and valve spring and keeper plate to the
left. |
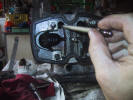
Remove push rod and note which end goes up to the Tappet and to which
valve (intake or exhaust) the push rod belongs. |
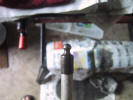
750cc push rods are aluminum with pressed on hardened tips. Inspect tips
for looseness and replace if needed. |
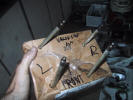
Store the push rods in some fashion that allows you to replace them in
their original position. |
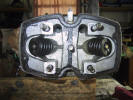
The cylinder head is now ready to be removed. |
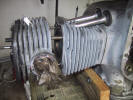
Grasp each side of the cylinder head and pull it off the cylinder studs.
The cylinder head gasket will be stuck either to the back of the head or
the face of the cylinder. It too is re-useable but I suggest replacing
it. |
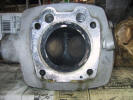
This is the view of the back side of the cylinder head which was just
pulled. The exhaust valve is on the left and the intake valve on the
right. |
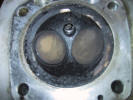
A closer look, you can see the spark plug at 12 o'clock and along the
bottom right corner you can see the oil return hole to the sump. |
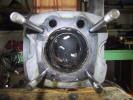
After removing the cylinder head you are now left looking at the
cylinder. The top of the piston is plugging up the whole. |
|