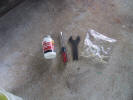
Picture of some of the tools, new in-line fuel
filters and pipe thread compound.
I clean the petcock at each 10,000 km service. |
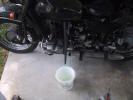
Run the tank down to "reserve" or empty, unhook the
left fuel line above the fuel filter and use a funnel to drain the
residual gas into a suitable container. |
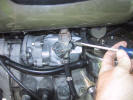
Use the appropriate screwdriver for the type clamps
you have (if any) and remove the right side fuel line from the
petcock. |
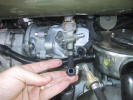
This is the line unhooked that was used to drain the
tank. |
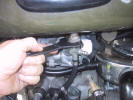
Use the URAL pin wrench to loosen the nut holding the
petcock to the gas tank... |
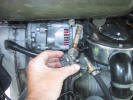
...once loose, unscrew it by hand and pull the
petcock down and out exposing the finger filter. |
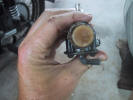
I'm not sure what the hell I was trying to show
here...it's just the top of the petcock filter. |
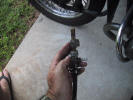
The nut is double threaded, at the bottom it is a
left hand thread. Unscrew it CW and
slip it off... |
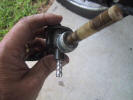
...here you can see some crud on top of the
washer that holds the filter base in place, now... |
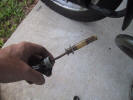
...gently pull up and slip the filter and aluminum washer off. Sometimes
the washer is wedged and you'll need to carefully work it out. |
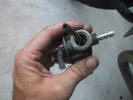
Just behind the stand tube is the flow hole for the
"reserve" lever position. Lousy picture as it is almost not visible.
In real life it is easy to see. |
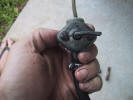
Just a shot of the face plate with the lever in the
"Off" position. The upper symbol is for "Reserve" the lower is for
"Main". The symbols depict the fuel level. |
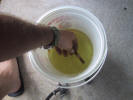
Wash the petcock parts in the fuel you drained
out...don't be a sissy...it only burns for a few minutes. |
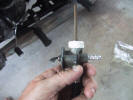
Before reassembling, coat the male threads with
thread compound to prevent leaks. This is much better than Teflon
tape or other sealants. |
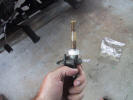
Seat the filter and washer back in the petcock.
Make sure you have seated it fully! If
you don't, the filter will be damaged when you install it. |
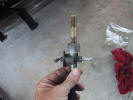
Loosely screw the nut back on as you will need some
play when mounting to the tank. |
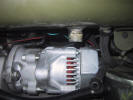
Clean the tank threads off... |
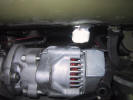
...and apply some thread compound here also.
Note:
No need to let the compound set up, when
reassembled, you can fuel up and head out. |
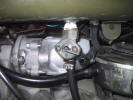
Guide the filter back up into the tank and hand
tighten the nut. |
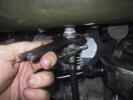
With one hand on the petcock and the other tightening
the nut...turn the petcock CCW and the wrench CW as seen from below
so that the right side fuel line nib is pointing where you need it. |
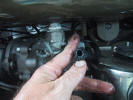
Reattach the fuel lines to the petcock...while down
there it's not a bad idea to pull the fuel cross over line and clean
the crud out of it. |
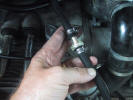
Every 10,000 km's I change the fuel filters.
|
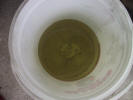
A shot of the bottom of the bucket after cleaning the
petcock...10,000 km's worth of crap. |
|
|