|
|
Oil Pump Servicing (Removal)
Tools Needed: 22mm and 10mm wrench, 12mm deep socket and ratchet and wire cutters.
 Drain the engine oil sump and place the engine so the timing gear area is facing down... |
 use a 10mm wrench or socket to remove the 12 bolts holding the sump to the engine case.
|
 If needed, give the sump a couple light blows from a hammer or the like to break the gasket seal. |
 Inspect the sump for schwarf and clean it with solvent of choice. |
 Post gasoline wash. |
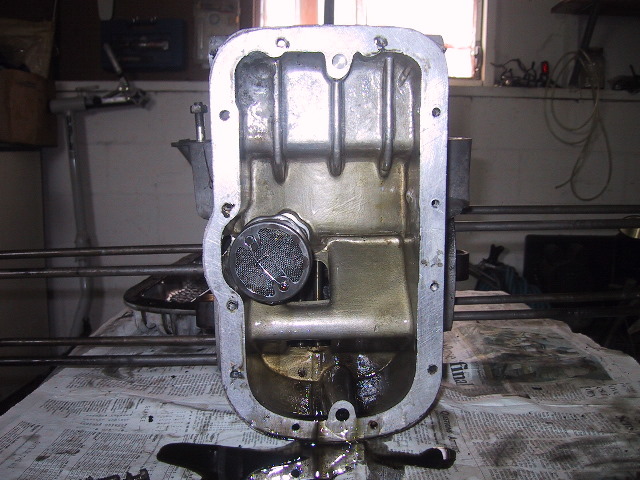 After removing the sump you will be looking at the oil pump pick up screen. |
 Here is a side view of the pump. |
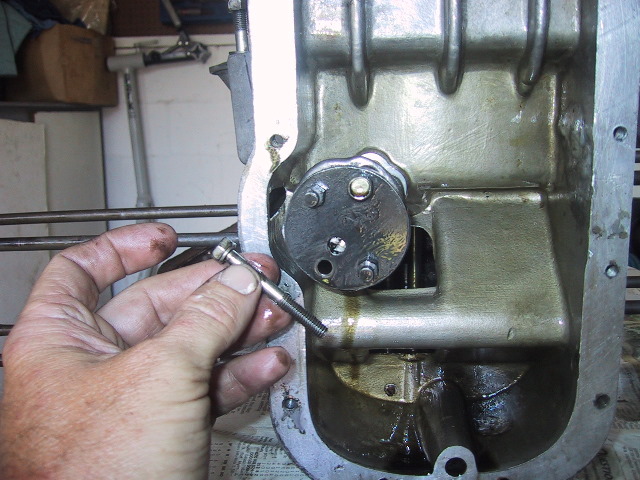
 Use wire cutters to remove the safety wire which holds the pick screen in place. |
 Removing the screen reveals the 2 oil pump retaining bolts at 1 and 7 o'clock. |
 Use a 10mm wrench to remove the bolts. |
 One down, one to go. |
 With both bolts removed, simply pull the oil pump out. Note the long drive shaft which connects to the oil pump drive gear run off the cam. |
 A picture of the paper gasket for the oil pump. It can be reused if not damaged but why tempt fate? |
 Use the 10mm wrench to remove the 2 bolts holding the oil pump cover plate. |
 One removed... |
 ...and with the other bolt out the cover can be lifted exposing the oil pump gears. |
 The gear attached to the oil pump drive shaft is pressed on to the shaft so I don't pull that apart. The other gear pulls out for inspection. |
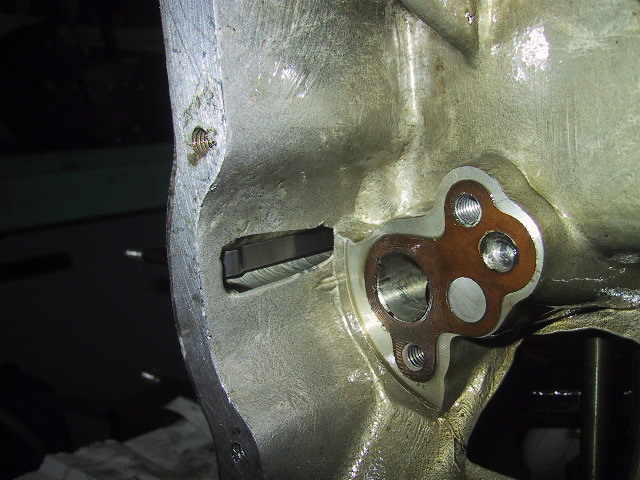
 Turn the engine back over and use a 22mm wrench to remove the oil pump drive gear cover... |
 ...with the cover removed the drive gear is exposed.
|
 Difficult to see in this picture is the square slot to accept the drive shaft to the oil pump. |
 Lift the drive gear out...you may need a needle nose pliers if you don't have skinny fingers. |
 Inspect the gear for general condition. |
 Just a couple of pictures of interest. These are weld spots from the factory... |
 ...to repair porous spots in the engine case. These are becoming less common with the newer bikes. |
|
|