|
|
Oil Pump Installation
Tools Needed: Gasket sealer, 22mm and 10mm wrench, needle nose pliers, safety wire and a razor.
 Use gasket sealer of choice on the case side of the gasket. No need to seal the oil pump side. |
 Apply sealer to the case taking care not to plug any oil galleys and press the gasket in place. |
 Ready to receive the oil pump. |
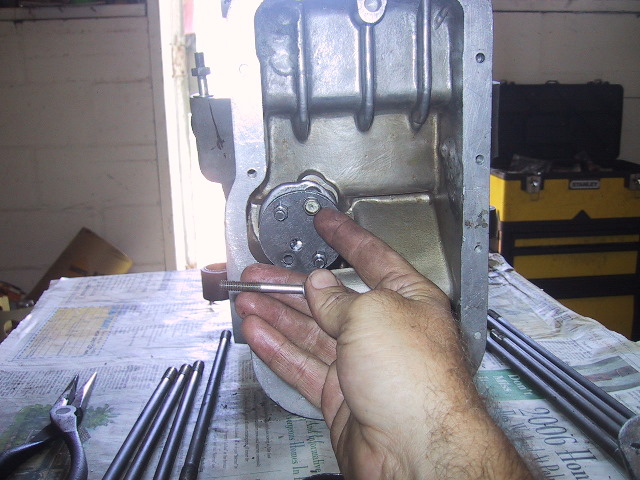 Insert the pump into position and finger tighten the 2 retaining bolts. |
 Snug them up with the 10mm wrench. 12 to 14 ft/lb. for the torque happy. |
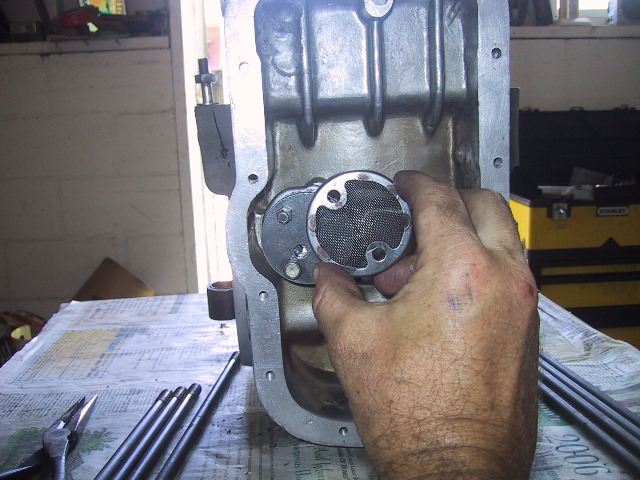 Replace the pump screen... |
 ...ready for safety wire. |
 If you can't find safety wire and live near an airport...you can bum some from a mechanic. |
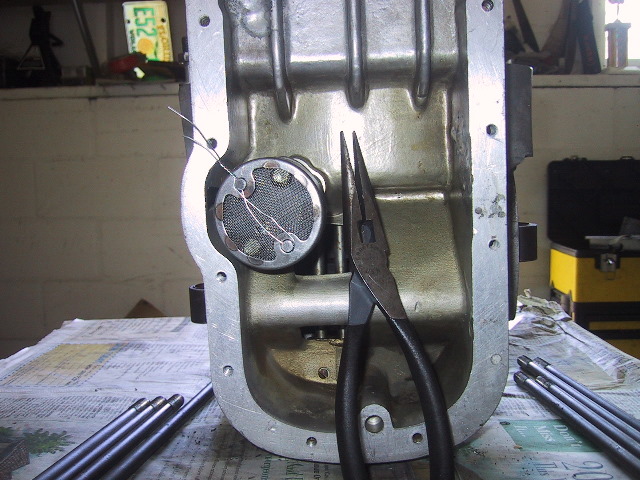 Use a pair of needle nose pliers or safety wire pliers to twist the wire tight. |
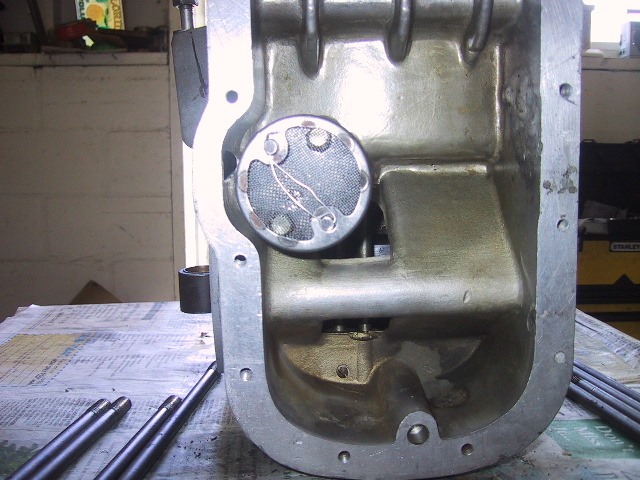 Ready to button up. |
 Lube the drive oil pump drive gear with some motor oil and slip it on the drive shaft. |
 You may need to turn it a little so it drops onto the square drive shaft. This will be practice for the clutch rod later! |
 Screw the cover plate back on...a little LokTite is not a bad idea as a few of these covers have vibrated off. |
 Tighten the cover with a 22mm wrench. |
 The sump gasket is reusable too, but change it. Clean the mounting surfaces with a razor. |
 The gasket only goes on one way. |
 Again, I use sealer only on the face of the sump and the sump side of the gasket. If I need to remove the sump later there is not damage to the gasket. |
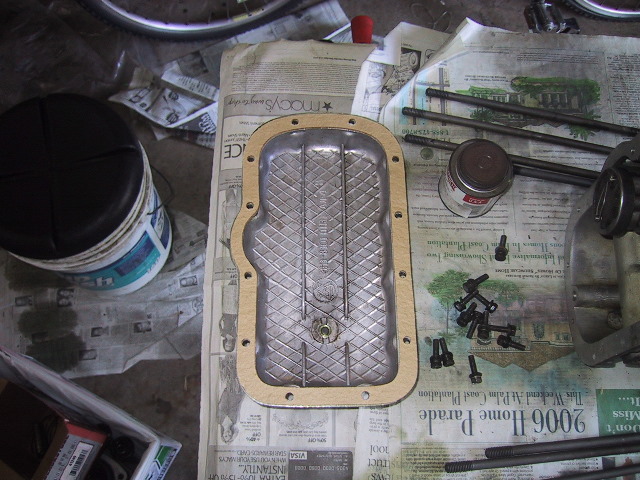 Ready to install... |
 ...use a modified "X" pattern to tighten the sump bolts. If you just have to torque them...5 to 8 ft/lbs.
|
|
|