|
|
|
|
Fuel Tank Removal & Installation
Tools Needed: Gas container, funnel, 12 mm socket, 14mm socket, 17 mm wrench, extension, ratchet wrench and pliers.
Time Required: 15 minutes plus drain time for gas.
 Turn fuel petcock to the "Off" position. |
 Set fuel catch system up next to the left carb...in this example a 5 gallon fuel container with a long funnel dropped into the spout bung. |
 Disconnect the fuel line to the left carb... |
 ...and place the end of the fuel line into the funnel. |
 Put the petcock into the "Reserve" position...fuel should now flow into the container. |
 If you want to be anal you can unscrew the fuel tank filler cap so the gas will flow faster...maybe. |
 When the fuel has finished draining, remove... |
 ...the right fuel line to the right carb. |
 Next, use a pair of pliers or a screw driver blade to remove one end of the fuel cross-over line... |
 ...careful, as there will be residual fuel that will drain out. After tank removal, remove and inspect this line for crud. |
 Gently feed the fuel lines out side of the frame so they will not hang up upon removing the tank. |
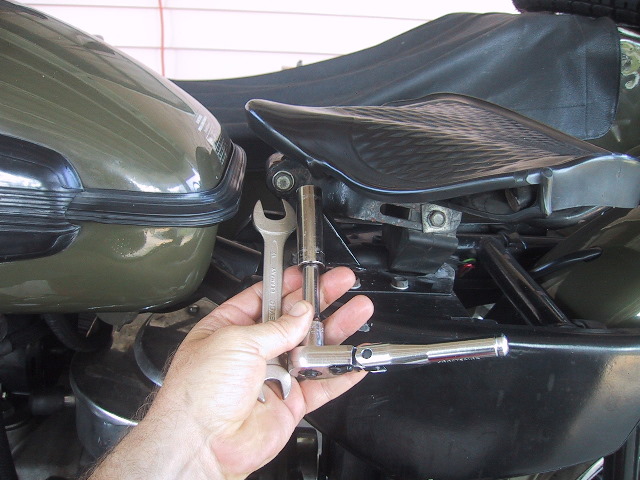 Use a 17mm wrench and 14mm socket and ratchet to remove the forward seat retaining bolt... |
 ...here is an overhead view... |
 ...and here is the bolt removed. Put the nut and washer back on and place the bolt in a parts box so it doesn't walk off. |
 Now the seat can be tilted back so the tank has enough room to clear it. Easier than removing the entire seat assembly. |
 At the forward end of the gas tank are two 12 mm retaining bolts, one on each side of the tank. Use a 12 mm socket and extension... |
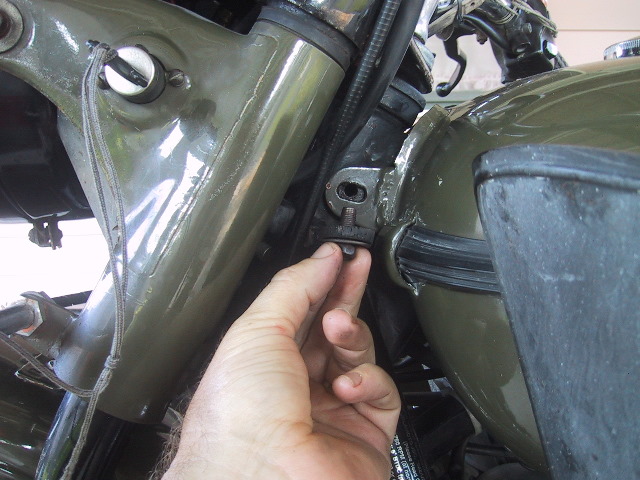 ...to remove both of these. Place the bolts, washers and grommets in a parts box. |
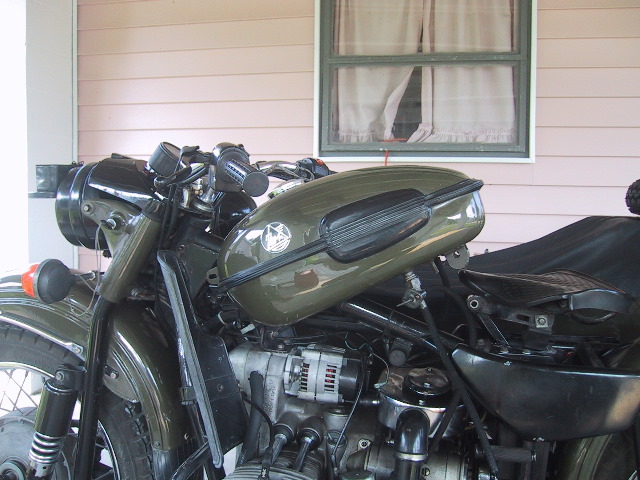 To remove the tank just lift the rear up, the tank is secured by two clips on the tank which fit over two rubber bumpers; a tug will pop it free. Then just slide the tank back to clear the handle bars... |
 ...and you are done. Set the tank on something soft to prevent damage to the paint. This is a good time to change out fuel lines, clean the petcock and flush the tank. |
Installation is the reverse steps. |
|
|