|
|
|
|
Removing & Installing The Main Driveshaft U-Joint
Tools Needed: Hammer, tommy bar, Snap ring pliers, 19mm, 13mm, 12mm sockets, vise, block of wood, pick and grease.
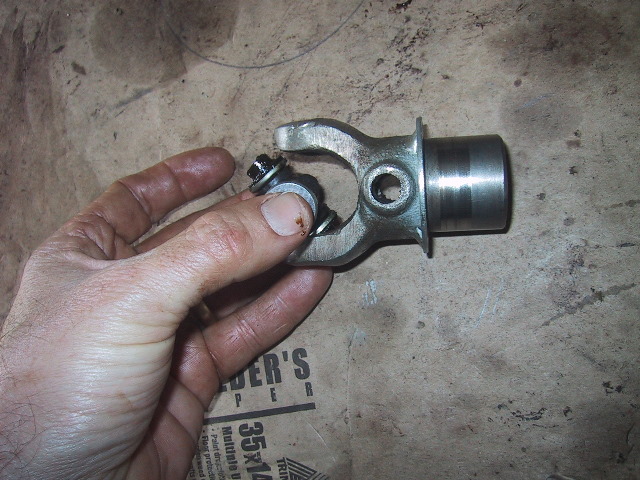
 Here is the driveshaft removed from the final drive with the new U-joint and internal snap ring pliers ready for disassembly. The drive shaft U-joint has 19 mm caps and is a non-standard U-joint. Available through Ural dealers only. |
 Use a good pair of snap ring pliers with tips just small enough to work. Too small of tips will bend or break making the job take all day. |
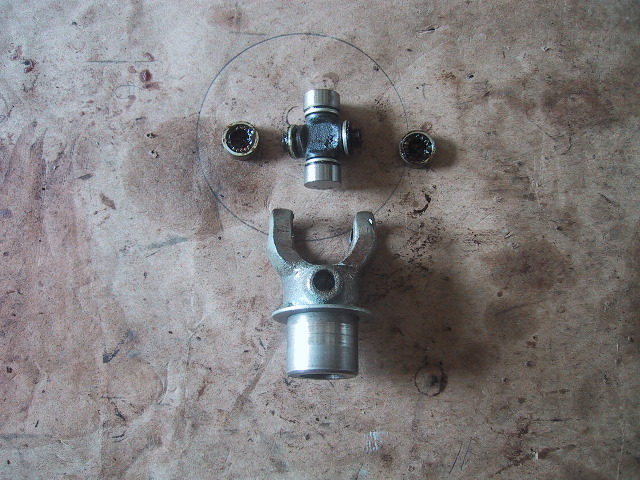
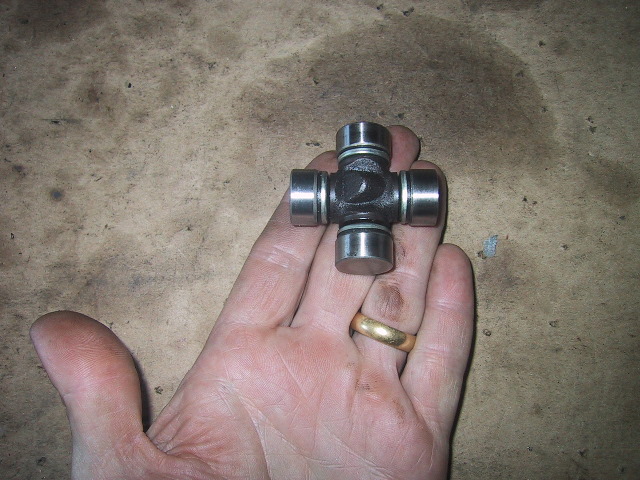 The new U-joint assembled. The cross is the center part, with a metal cup hold a rubber grommet followed by the outer races holding 18 needle bearings each. |
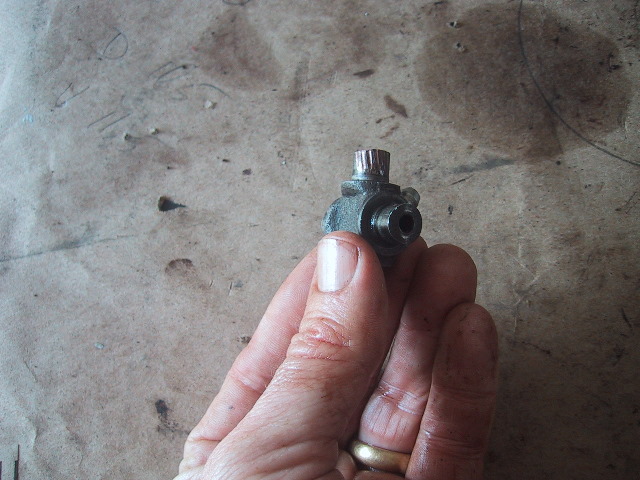
 If the U-joint has a grease zerk fitted, it is a good idea to remove it before disassembling to prevent damage. Especially if you are just servicing or re-using the U-joint. |
 Sorry for the next 2 pictures, flash did not go off. Use a pair of internal snap ring pliers... |
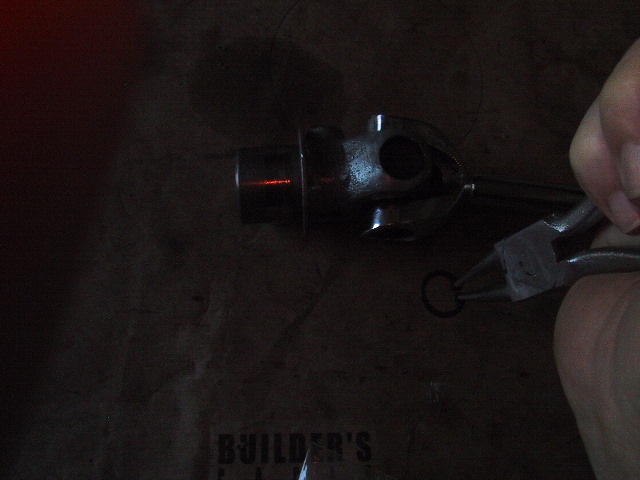 ...remove all 4 snap rings. |
 If some of the rings are frozen in place, use some penetrating oil, a socket and hammer and tap them softly to loosen so they can be removed. |
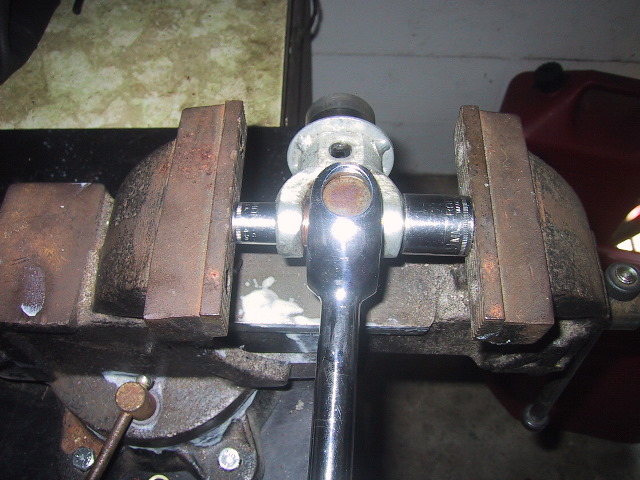 After removing the snap rings, the bearing caps must be pressed out. Here the caps of the U-joint splined fork are being removed. One way is use a 13mm and 19mm socket along with a vise to press them out slightly. The caps are being pressed out of the universal joint splined fork in this picture. |
 The left cap is being pressed through with the 13mm while the right cap is pushed into the wider 19mm socket. Just press it through so that 5mm or so of the cap is showing. If you press to much you will damage the cup and seal on the right side cross arm. |
 When enough of the cap is press out, remove the driveshaft and clamp the vise onto the exposed cap and twist back and forth slowly... |
 ...until the cap is free of the cross. Watch for the small needles, cup and grommet as they might fall out. Place something underneath to catch the parts. |
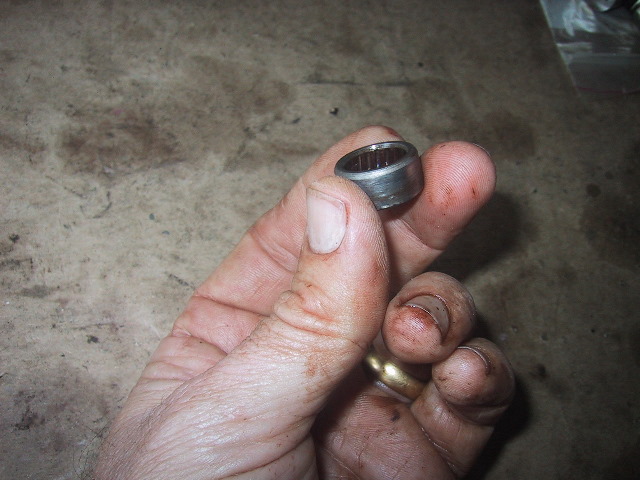
 Cap with bearings, grommet and cup removed from first arm of cross of the universal joint splined fork. |
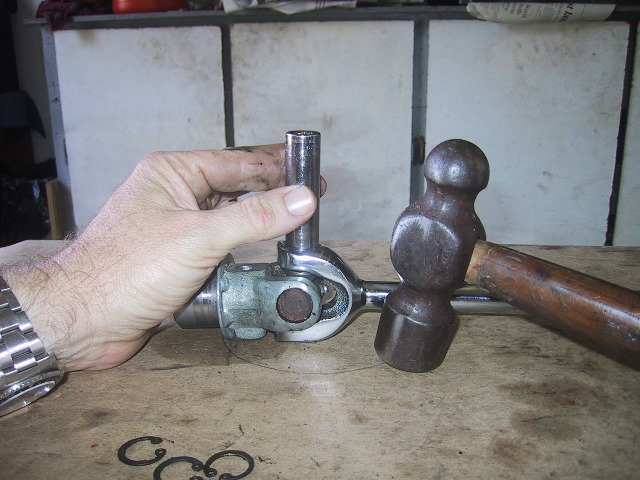
 Lay the universal splined joint across the jaws of the vise and use a tommy bar and tap the top of the exposed cross face pressing the opposite cap out of the yoke approximately 5mm also. |
Use the vise to again pull the opposite cap free of the universal splined fork and the driveshaft. The splined fork and driveshaft (with U-joint cross) can now be separated. Repeat this process with the driveshaft to complete removal of U-joint. |
 If re-using the original U-joint, be careful to not damage the face of the cross with the tommy bar as it will make it impossible to fit the cap and bearings without first using a Dremel or stone to dress up the tip/edge of the cross arm. |
 The disassembled U-joint and drive shaft laid out.
|
 Clean any rust or heavy grime out of the snap ring channels using a pick and cleaning solvent of choice.
|
 If re-using the U-joint clean the bearings and races in solvent of choice. Don't forget to clean the grease out of the inside of the cross if equipped with a grease zerk. |
 Some examples of a worn U-joint, here the needle bearings have worn into the cross arm surface.
|
 Pieces of ground bearing in the cap.
|
 Damaged cup and seal. If this type of damage is occurs during installation, water and dirt can enter the bearing causing failure. |
 Needle bearing wear into the surface of the cap.
|
 Needle bearings showing water contamination damage.
|
 If servicing a usable U-joint, place grease inside the 4 cups and leave some on a finger...
|
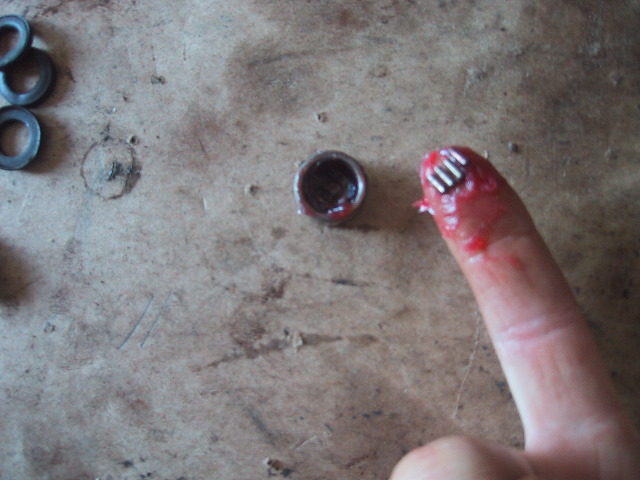 ...to pick up the loose bearings...
|
 ...and wipe them into the cap.
|
 Use a small screw driver or pick to slide the needles into place. 18 needle bearings go into each cap. |
 Place the rubber seals into the metal cups...
|
 ...like so.
|
 The cup and seals go onto the cross arm with...
|
 ...the seal facing up...
|
 ...and then place the cap with needle bearings on top.
|
 Serviced U-joint ready for installation. If equipped with a grease zerk, fill cross with fresh grease before installation. |
 Here the new U-joint is ready to be installed into the U-joint splined fork.
|
 With the caps removed, insert the cross into the yoke of the splined fork.
|
 Carefully place and align both caps in the splined fork yoke...
|
 ...using finger pressure, seat caps as far as possible using care not to cock them. |
 Place the splined fork in a vise and carefully...
|
 ...press the caps in while centering the cross and taking care not to crush/damage the cups and seals. |
 Use a 13mm socket to further press one cap in to the point where... |
 ...the groove for the snap ring is visible. |
 Using a pair of internal snap ring pliers, install the snap ring into the groove. |
 A small screw driver may be helpful in seating the ring completely.
|
 The opposing cap may now be pressed home using the vise. The snap ringed cap will act as a stop so this cap can not be press too far in. |
 An alternative way is to just set the splined fork on the floor and tap the cap down using the same 13mm socket. |
 Cap seated against opposing cap and ready to receive snap ring.
|
 Install the second caps snap ring and half the job is done. Check for smooth operation of joint before installing the driveshaft. If it does not feel right, disassemble and figure out what went wrong. Install the drive shaft yoke the same way... |
 ...an alternative and more primitive method than the vise is a 2X4 with a hole bored through it. Using a socket or tommy bar and a hammer; the caps/cross can be driven in or out. |
 Here I am finishing the U-joint installation above by driving one of the drive shaft caps into the yoke on the floor. This is easier using a socket. Again, take great care in assuring the the cups and seals are aligned in the yoke holes properly or they will be damaged. |
 Set the U-joint over the hole in the wood and using the socket tap the cap through just enough to get a snap ring in the groove. This method can be used to remove the caps but generally it destroys the cups and seals so a new U-joint must be used. |
|
Turn the yoke over and drive the opposing cap into place. The cap with snap ring on bottom will again act as a stop. |
 Completed U-joint and driveshaft ready to install on final drive.
|
Hint: Save the old U-joint cups & seals in case the new get damaged during installation. |
|
|