|
|
|
|
Brake Shoe Removal (Drum Brakes)
Tools Needed: None
Note: Before removing brake shoes, mark each shoes position with an "A" and "B" or "1" and "2" or in such a manner that when you reinstall the shoes they go back into their original position. If you do not do this, you will lose braking effectiveness until the shoes re-bed.
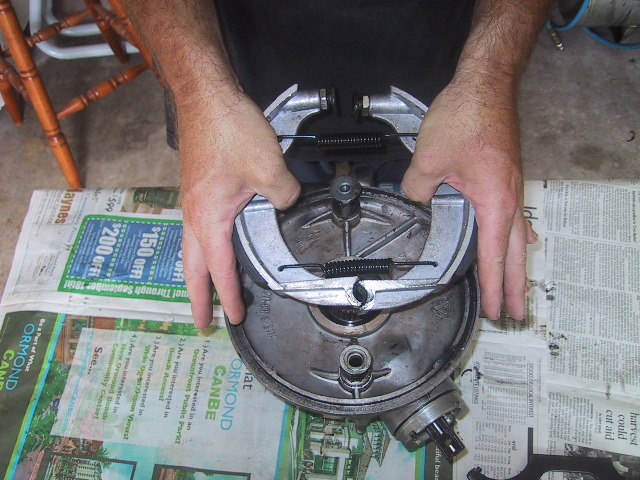
 To remove the brake shoes from any drum, grasp the middle of the shoe with your thumbs... |
 ...and pivot the shoes upward against the cams. |
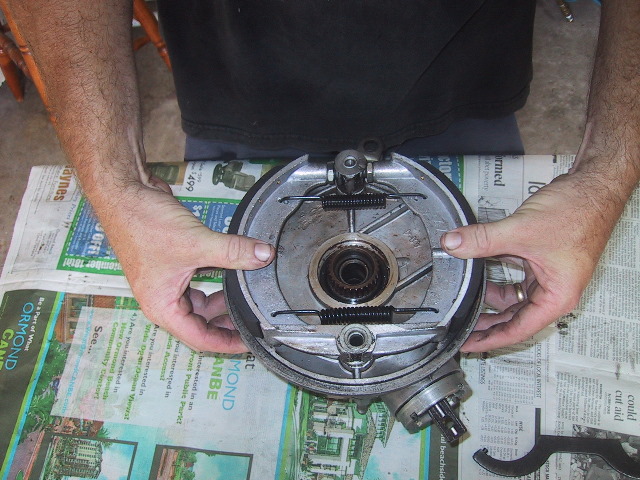
 As the shoes release, bring your thumbs back up to level the shoes and keep the springs in the holes. |
 When reinstalling the shoes; again grasp the middle of the shoe holding them in a loose "V", place the shoe ends on their respective cams. Pull the shoes up against the top of the cams... |
 ...while pressing down and out with your thumbs. |
 The shoes will snap into place with little effort. |
 Be careful as the springs can pop off or break and can hit you in the eye. |
Brake Service
Front Brakes, Leading Link
Tools Needed: 19mm and 17mm wrenches, grease and solvent.
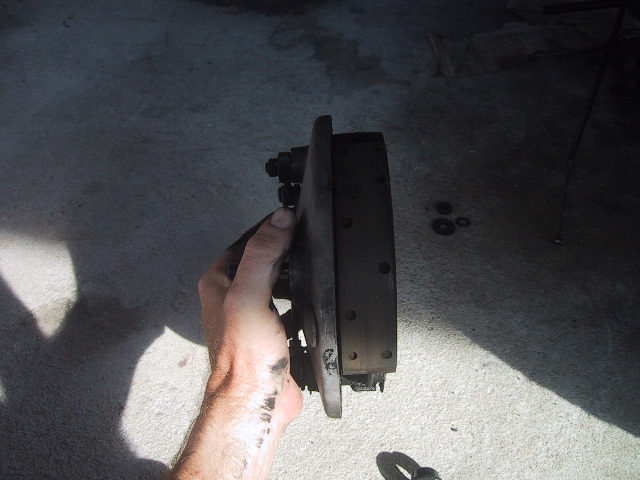
 Start by removing the front tire... |
 ...slip the brake plate off the torsion bar stud. |
 The shoes are located top & bottom unlike the other drum shoes which are fore & aft. It is a good idea to scribe a "top" and "bottom" or other mark on each shoe so they get put back in the same spot. |
 Examine the wear patterns... |
 ...on the shoes and determine what adjustments if any need to be made. |
 To remove the brake shoes grasp each in the middle and pivot them up at the same time... Note: Before removal, I use a scratch awl to mark the shoes "A" & "B" so they are put back in there original configuration. |
 ...they'll come off with the springs attached. Use some brake cleaner to clean up the parts. |
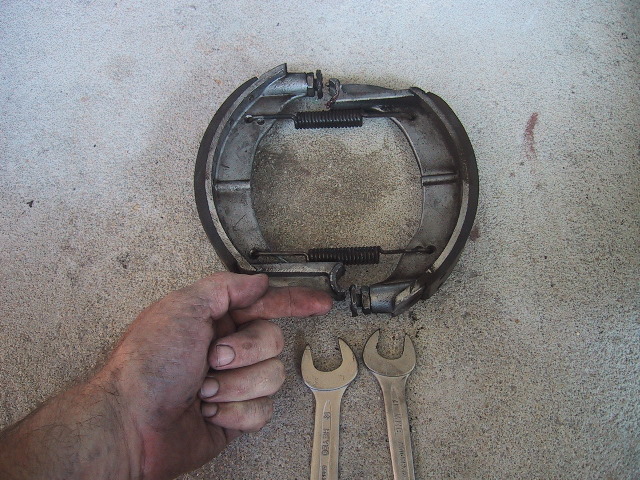 If the brake cable adjusting screw is/has reaching its limit, you can use a 19mm and 17mm wrench to turn out the brake shoe adjustment bolt. A 1/4 to 1/2 turn is usually all that is needed to bring the brake cable adjusting screw back in. |
 After cleaning the the brake parts, grease the two brake cams and contact surfaces of the brake shoes. |
 Replace the shoes by folding them slightly in a "V", setting the contact surfaces of the shoes on the cams and pressing down at the middle of each shoe simultaneously. They will pop right on with maybe a minor adjustment to get them to click in. |
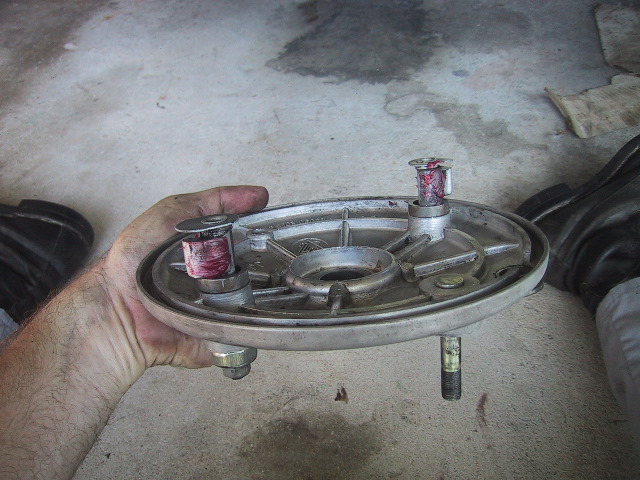
 Ready to install the 2 top hat bushings... |
 Both are the same size and can go either position. A little grease keeps them from falling out. Put one on the inside... |
 ...and one on the outside. |
You are now ready to slip the brake plate back on the torsion arm, mount the wheel, brake cable and adjust the brakes. |
Rear Brake, 2wd Models
Tools Needed: 19mm, 17mm, 12mm wrenches, grease and solvent.
 Note: Before removal, I use a scratch awl to mark the shoes "A" & "B" so they are put back in there original configuration. Remove the brake shoes by grasping each at the middle and pivoting the shoes up on the cams... |
 ...the shoes and springs will come off as one unit. This can be done for all the drum brakes and they can be installed in the reverse manner. Examine each shoe's wear pattern and and make adjustments as needed. |
 Clean the brake plate and shoes with solvent of your choice. I use aerosol brake solvent or gasoline. Apply grease to the brake shoe cams and re-install the shoes. |
 Make sure the brake plate drain hole is clear. |
 Examine the final drive wheel hub splines for wear. If they are sharp and pointy it is time to rebuild/replace the splines. The splines above look brand new. Lightly grease the splines or the wheel hub splines before installing wheel. |
 Back off or remove the foot brake barrel nut before remounting wheel. |
 If the nut is screwed in more than an inch or so; adjust the brake shoe adjustment bolt as shown in the "Front brake, Leading Link" section above to give yourself some more adjustment leeway. |
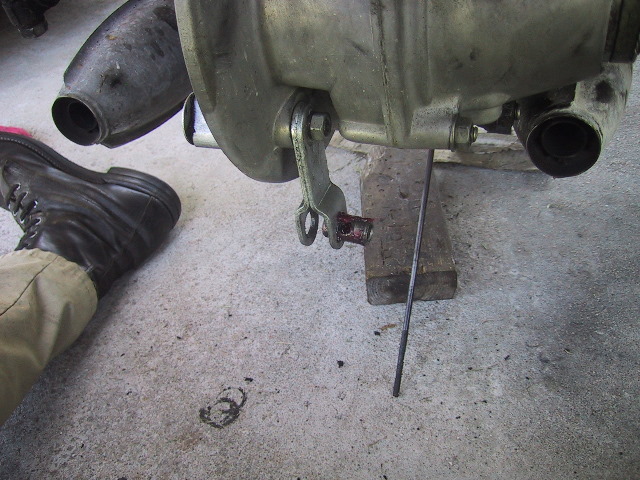 Grease the barrel slide for the foot brake rod. |
Reassembly is the reverse order. Install the wheel and adjust the brake. |
Sidecar Brake 2wd Models
Tools Needed: 19mm, 17mm wrenches, grease and solvent.
 View with sidecar wheel removed. |
 Grasp the middle of each shoe... |
 ...and pivot the shoes up on the cams... |
 ...to remove the shoes and springs as one unit. Installation is the reverse. |
 Examine each shoe wear pattern and adjust as needed. |
 Clean brake plate and shoes with solvent of choice... |
 ...then grease the cams and axle before reinstalling the brake shoes and wheel. You may need to back off the sidecar brake adjustment barrel before mounting wheel. |
|
|