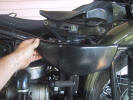
Remove the decorative side cover if installed. Some
clip on to the frame like this one, others are bolted on.
|
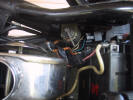
If equipped with a Master Battery Switch (just under
frame at 12 o'clock)... |
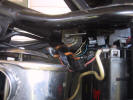
...turn it to the "Off" position before working on
the battery. |
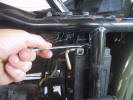
Use the 10 mm wrench to loosen and remove the
positive terminal bolt. There is usually 3 wires attached here. The
largest (white) is the positive lead to the starter solenoid, a blue
wire with an in-line fuse which is for the headlight and a black
wire which goes to the starter relays located on the right side of
the frame and above the battery. |
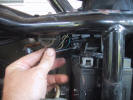
Carefully reach back with the 10 mm wrench and remove
the negative terminal bolt. Usually there is only one large ground
wire attached here. It will go to the Master Battery Switch or
frame.
Use caution to not touch both the
pos. and neg. terminals together with the wrench or you will get a
free lesson in DC welding! |
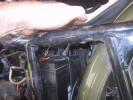
Reach behind the battery with the 10 mm wrench and
remove the nut that holds the two halves of the battery bracket
together... |
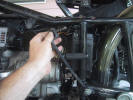
...remove the bolt and front half of battery bracket.
The bottom of the bracket has a hole which slides over a catch
welded to the frame. |
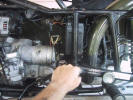
Pull the kick starter lever down out of the way and
hold it down with your knee or secure it to the frame with a bungee
cord. |
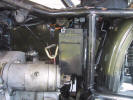
Slide the left side of the battery forward and tilt
the left end up... |
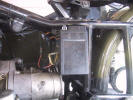
...so the battery can be pulled out between the frame
and starter. If there is not enough room on your bike to do this,
then the starter must be removed. See section 8.5 for starter
removal. |
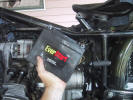
Battery is out. Clean the mounting area and battery
with a solution of baking soda and water to neutralize the acid. Use
care not to get the baking soda solution into the battery cells. |
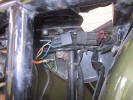
With the battery out of the way, there is free
access to the two starter relays (Standard Motor Products RY115)
which just plug into the wiring harness. This is a good time to
inspect and clean them.
|
Installation is the reverse. |
|
|