|
|
Removing & Reinstalling the Pistons & Piston Rings
Tools Needed: Needle nose pliers and Wrist pin press (home-made)
 With the pliers, grasp the end of the spring keeper... |
 ...and twist in a clockwise direction while simultaneously pull outward... |
 ...and out she pops. |
 You can clearly see the end of the wrist pin now. |
 To press the pin out, get a foot of 3/8th's ReadiRod, a couple Heavy fender washers, nuts, a 3" piece of Schedule 40 3/4" PVC pipe and a 15mm deep socket. |
 Put it together like so...and turn the socket slowly through the piston. It should go through smoothly with little effort.
|
 You can turn the piston to take a peek on progress. You can see the socket in the left oil hole in the rod small end. |
 When the pin is clear of the rod arm small end... |
 ...you can slip it right off. If you are replacing the pistons you can continue to press the wrist pin all the way through. |
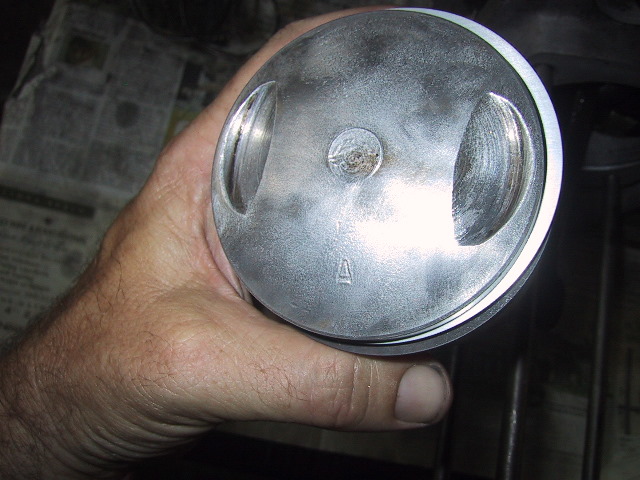
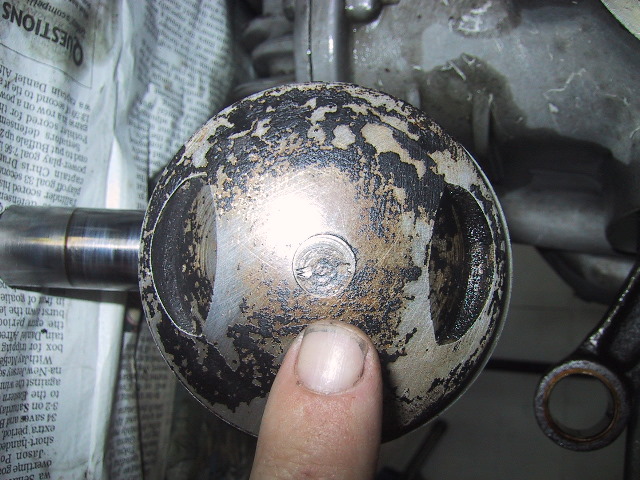 There is an "arrow" stamped into the piston head. This arrow always points toward the front of the engine.
|
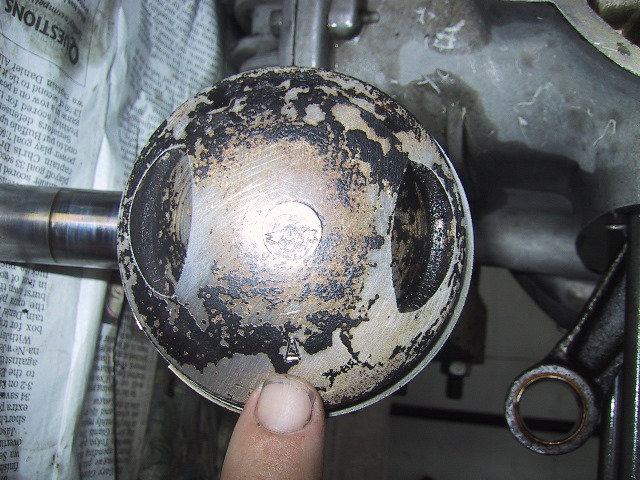 The piston is also stamped with the "size". It will either be a "A", "B" or "C". |
 The front face of the cylinder will have a corresponding "size" stamp on it's front face also. |
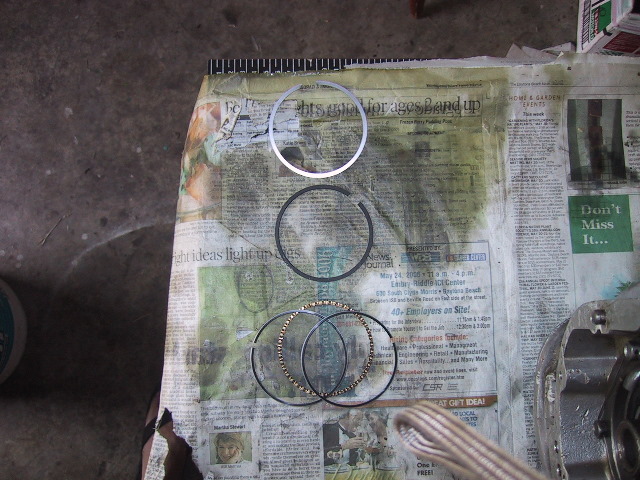
 Here's a profile of the piston in which you can see the top 2 compression rings and the bottom oil ring. |
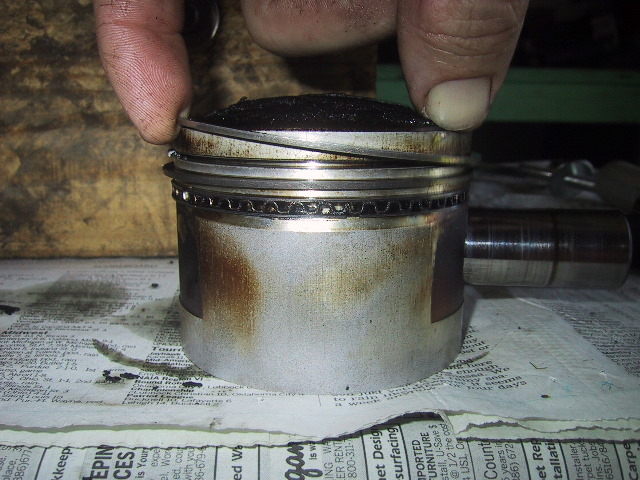 Find the gap in the top ring and peel it off. |
 One down, two to go...sort of. |
 Remove the second compression ring the same way. |
 Notice this ring has beveled edges and a "dot" stamped near the bottom gap. |
 The bottom ring called the oil ring consists of 3 pieces. Remove them in the same manner as the other 2 rings. |
 A picture of the engine sans cylinders, pistons and timing gears. |
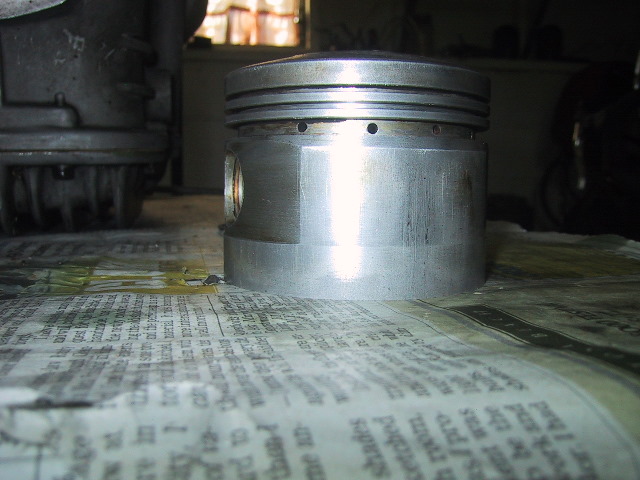 Cleaned piston ready for new rings. |
 There are 3 different size pistons for the URAL; but only 1 size set of rings. There is no need to off-set the ring gaps, this is an old wife's tale. Later, when installing the cylinder, we'll line them up together. |
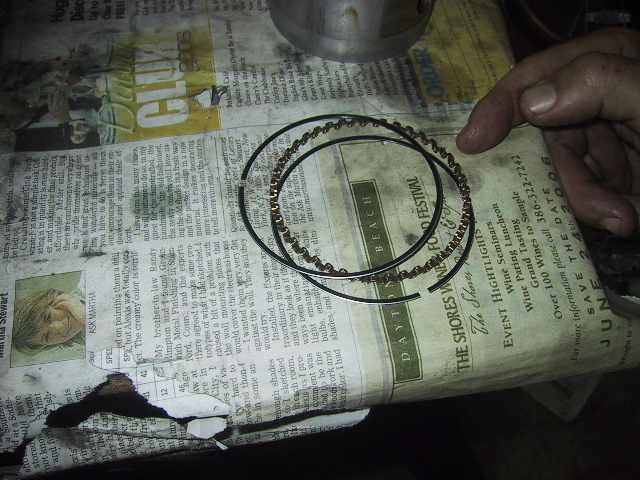 Put the oil ring on first. It consists of 2 flat rings and a wavy ring. |
 Sandwich the wavy ring between the 2 flat rings in the bottom groove. |
 Bird's eye view of the first oil ring in place. Finish putting the other 2 oil rings on |
 Next comes the lower compression ring. The small "dot" stamped at the end of the left part of the ring always faces up on the piston.
|
 Profile view of the oil and lower compression ring in place. |
 The top compression ring can go on either side up. |
 Finished piston. |
 Get the wrist pin press ready... |
 ...along with the wrist pin. |
 Use a little motor oil to lube up the wrist pin and pin hole. |
 Start the wrist pin through with finger pressure or a couple light taps with a hammer. Just enough to seat it and set up the press. Press it through until it clears the groove for the wrist pin keepers. |
 To get the keepers in, put the tab in the groove at the 6 o'clock position while applying finger pressure at 12 o'clock... |
 ...grasp the tab of the keeper and rotate the keeper clockwise while continuing to hold downward finger pressure. |
 The keeper will pop into place in about 1/2 a turn. |
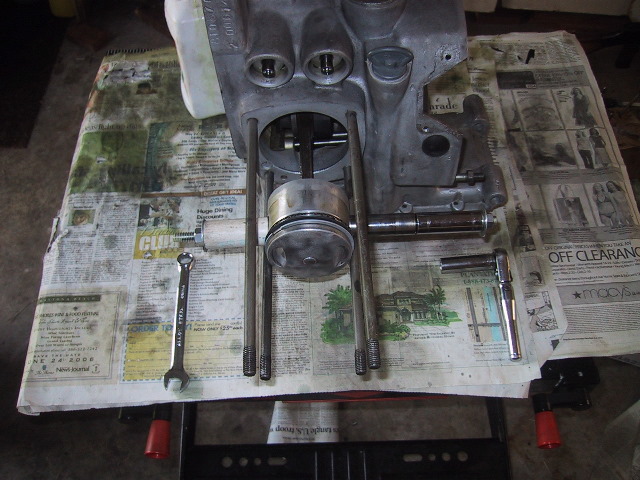
 Both pistons reattached awaiting cylinders.
|
|
|